
How to connect iTriangle to a private WiFi network via Android/iOS APK
STEP 1: Install the Android/iOS App
You must install the iTriangle App to manage and configure your iTriangle devices.
Download the Android or iOS App and install. Or, go to the App Store or Google Play and search for "iTriangle"to find it.
 |
 |
|---|---|
| Get Android App | Get iOS App |
Make sure your Android OS version is 4.1 or higher, or your iOS version is 7 or higher.
STEP 2: Create an account or use a predefined account
- If this is your first time using the iTriangle APP, you may be asked for GPS authorization. Please approve it, then sign up. This privilege is necessary for managing WiFi networks connecting to the iTriangle device.
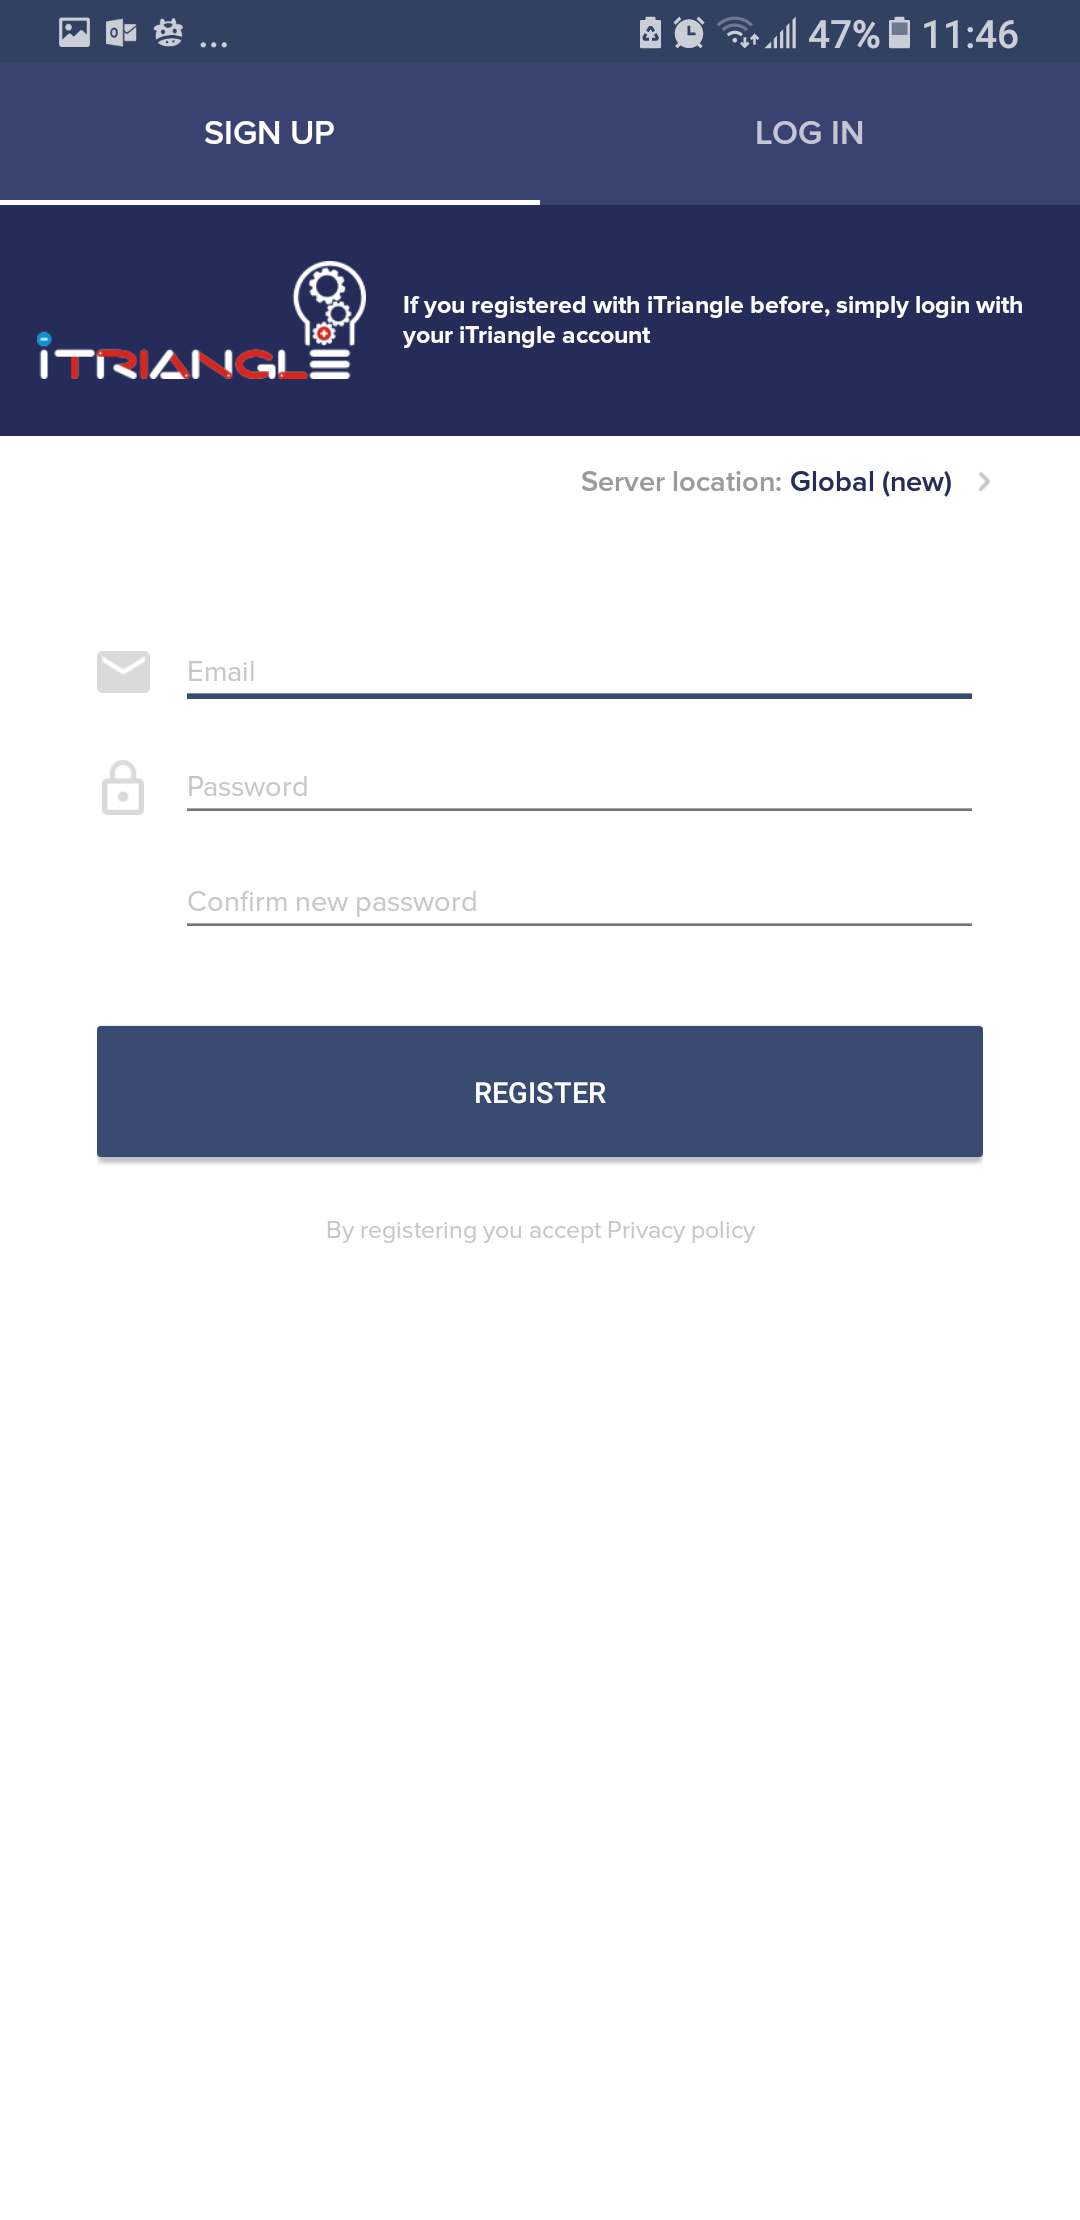
- If you already have an account, check the server location before logging in.
Please make sure you enter the correct server location. An incorrect server location will not connect you to iTriangle.
 |
 |
 |
STEP 3: Connect to the iTriangle WiFi APP
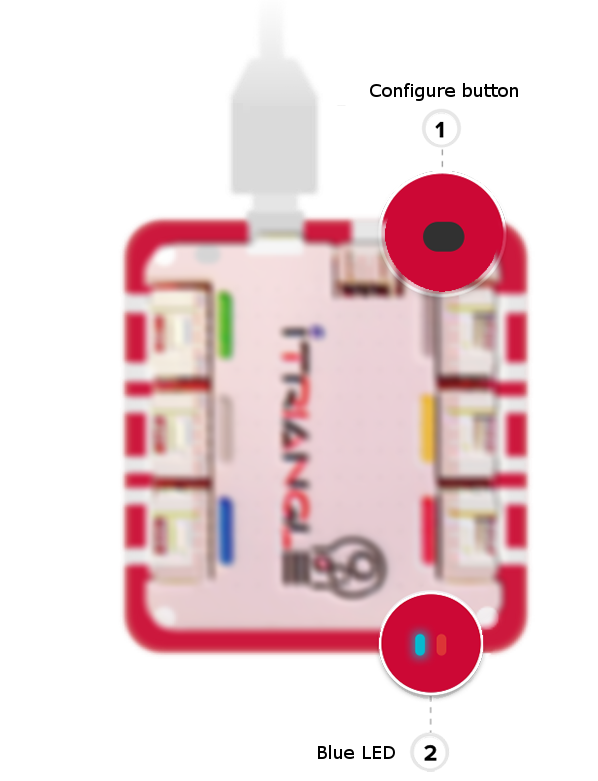
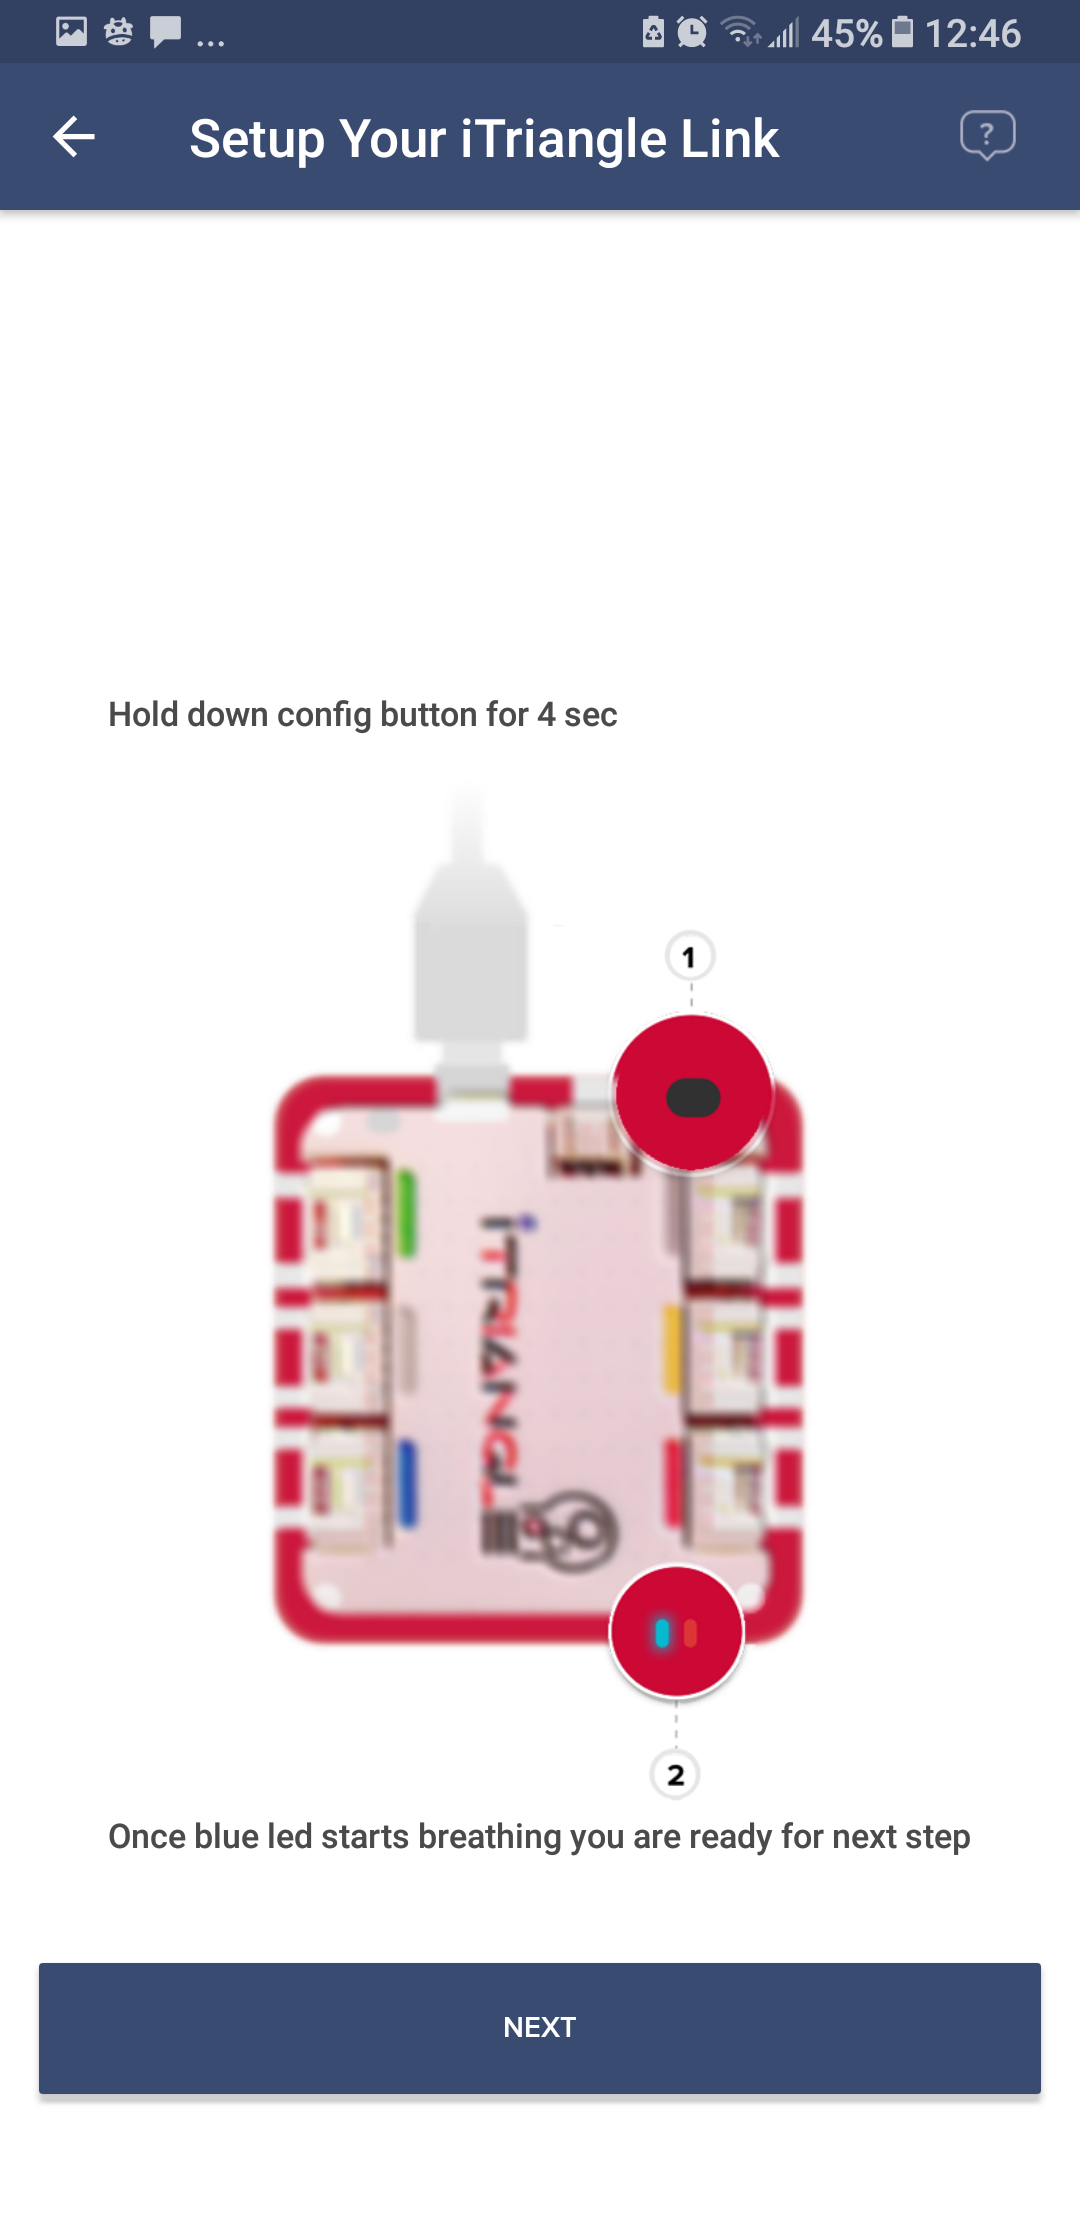
- Press and hold the CONFIG button until the blue LED starts blinking slowly with a fade in & fade out effect (breathing). This means that iTriangle has successfully switched to configuration mode and can be detected by the iTriangle App.
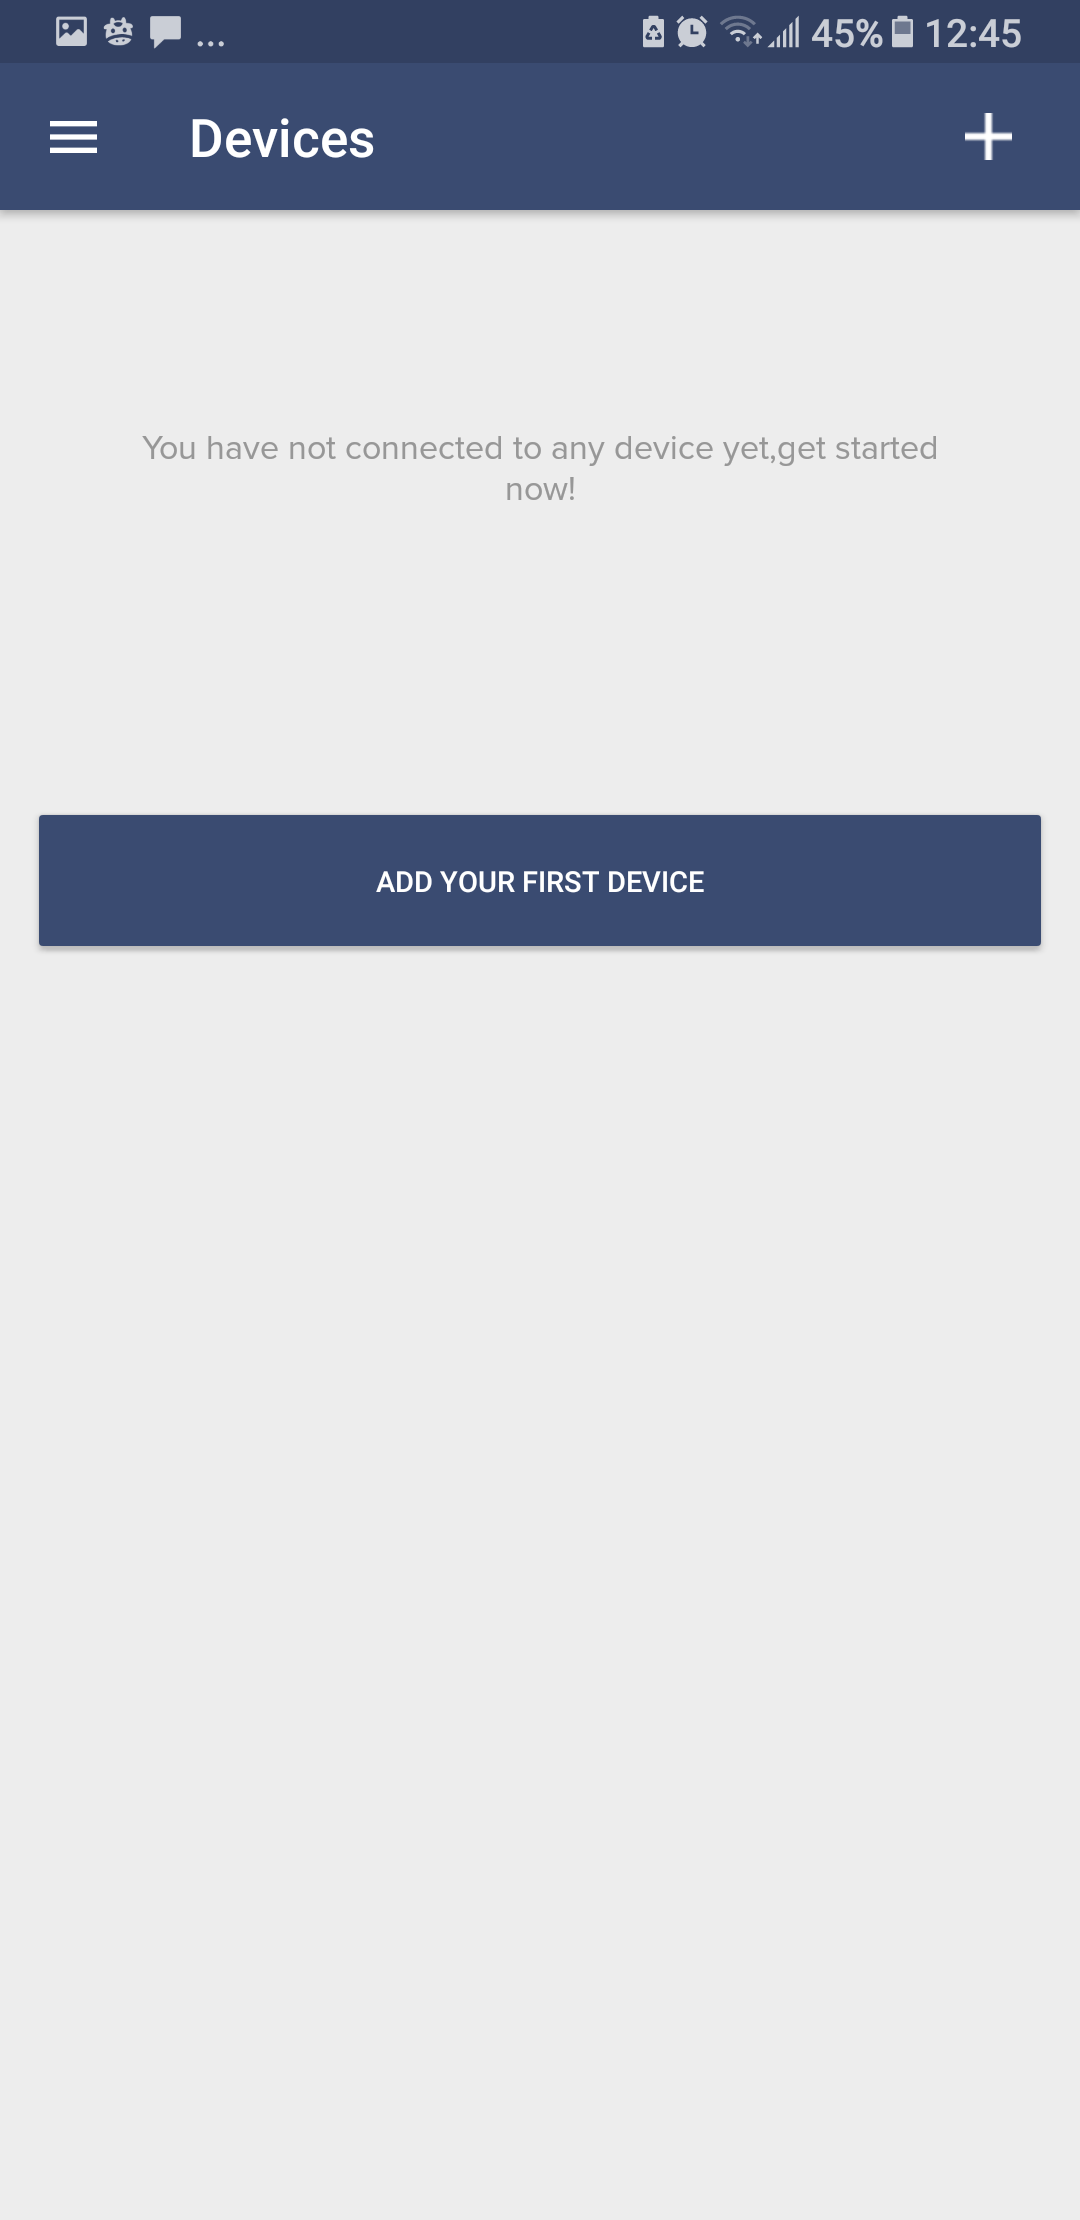
- Press "Add your first device".
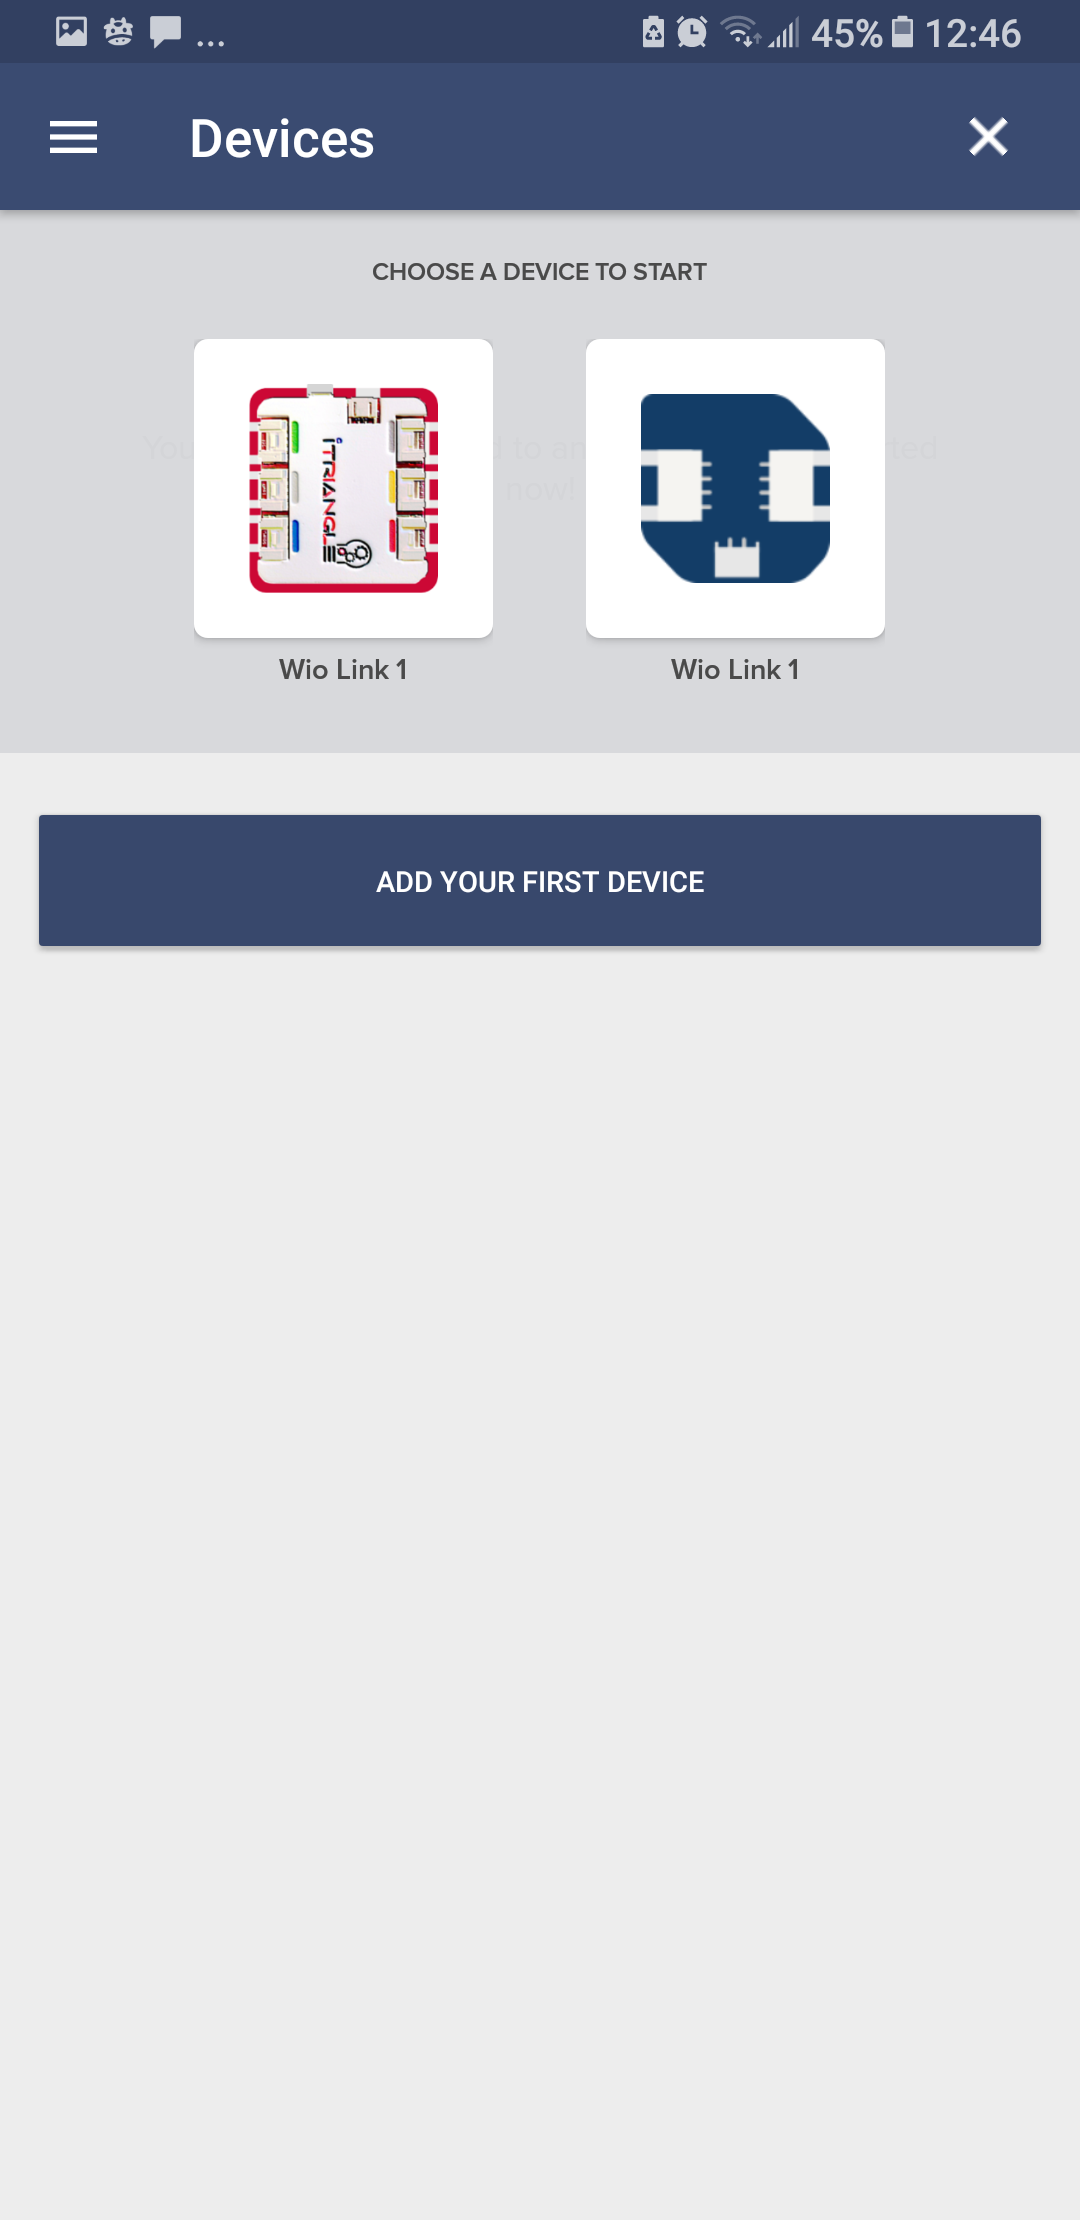
- Choose an iTriangle device.
- "Go to the WiFi list", which will take you to the WiFi settings interface on your smartphone.
 |
 |
 |
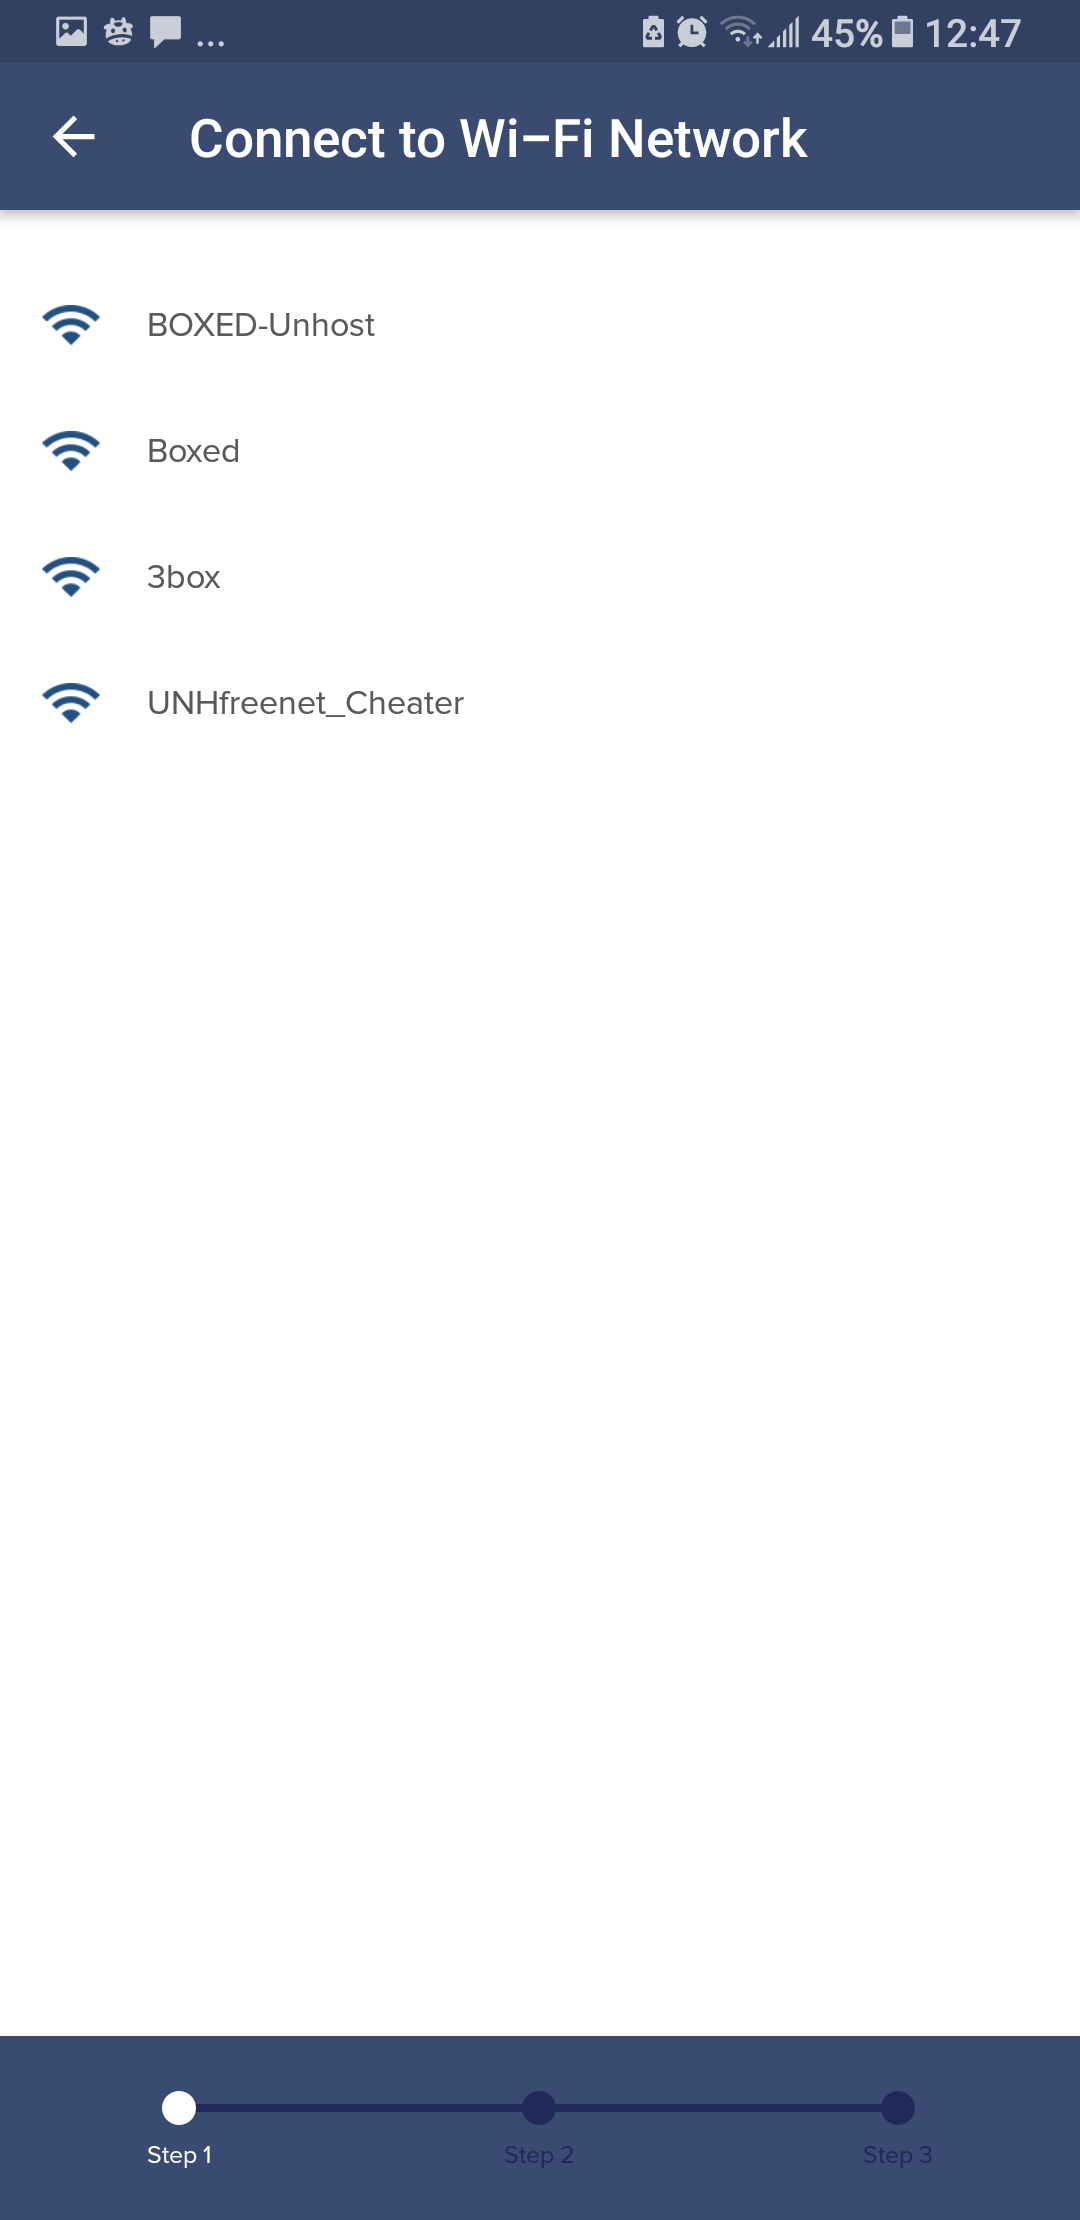
- If you have successfully switched the device to configuration mode and the blue LED is blinking slowly (breathing), you will find iTriangle in the WiFi list. Connect to it! (It is not usually called "iTriangle" in the WiFi list. In the example shown, it is "iTriangle_8B2F12". You will find one called "iTriangle_xxxxxx" in your own list).
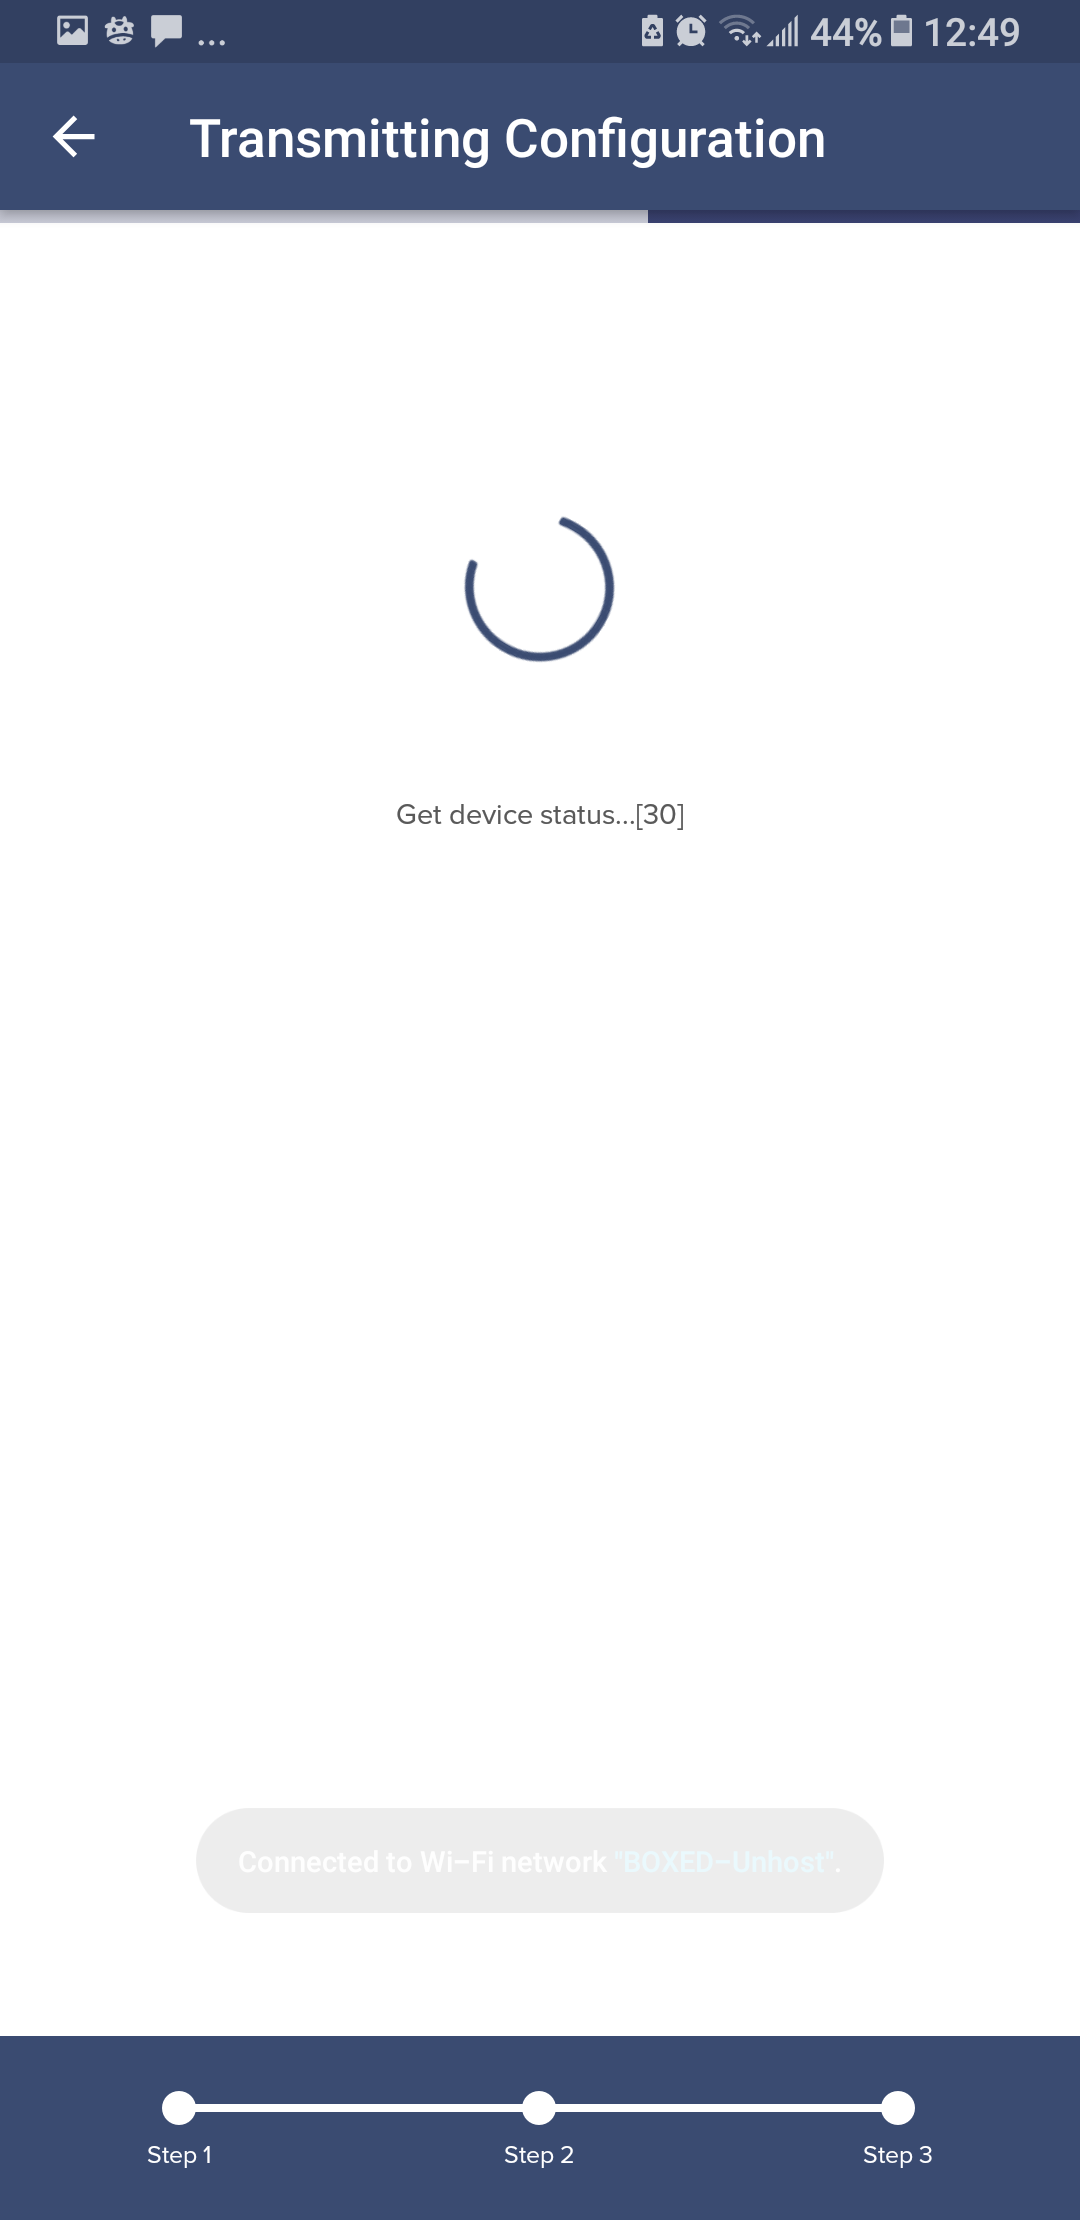
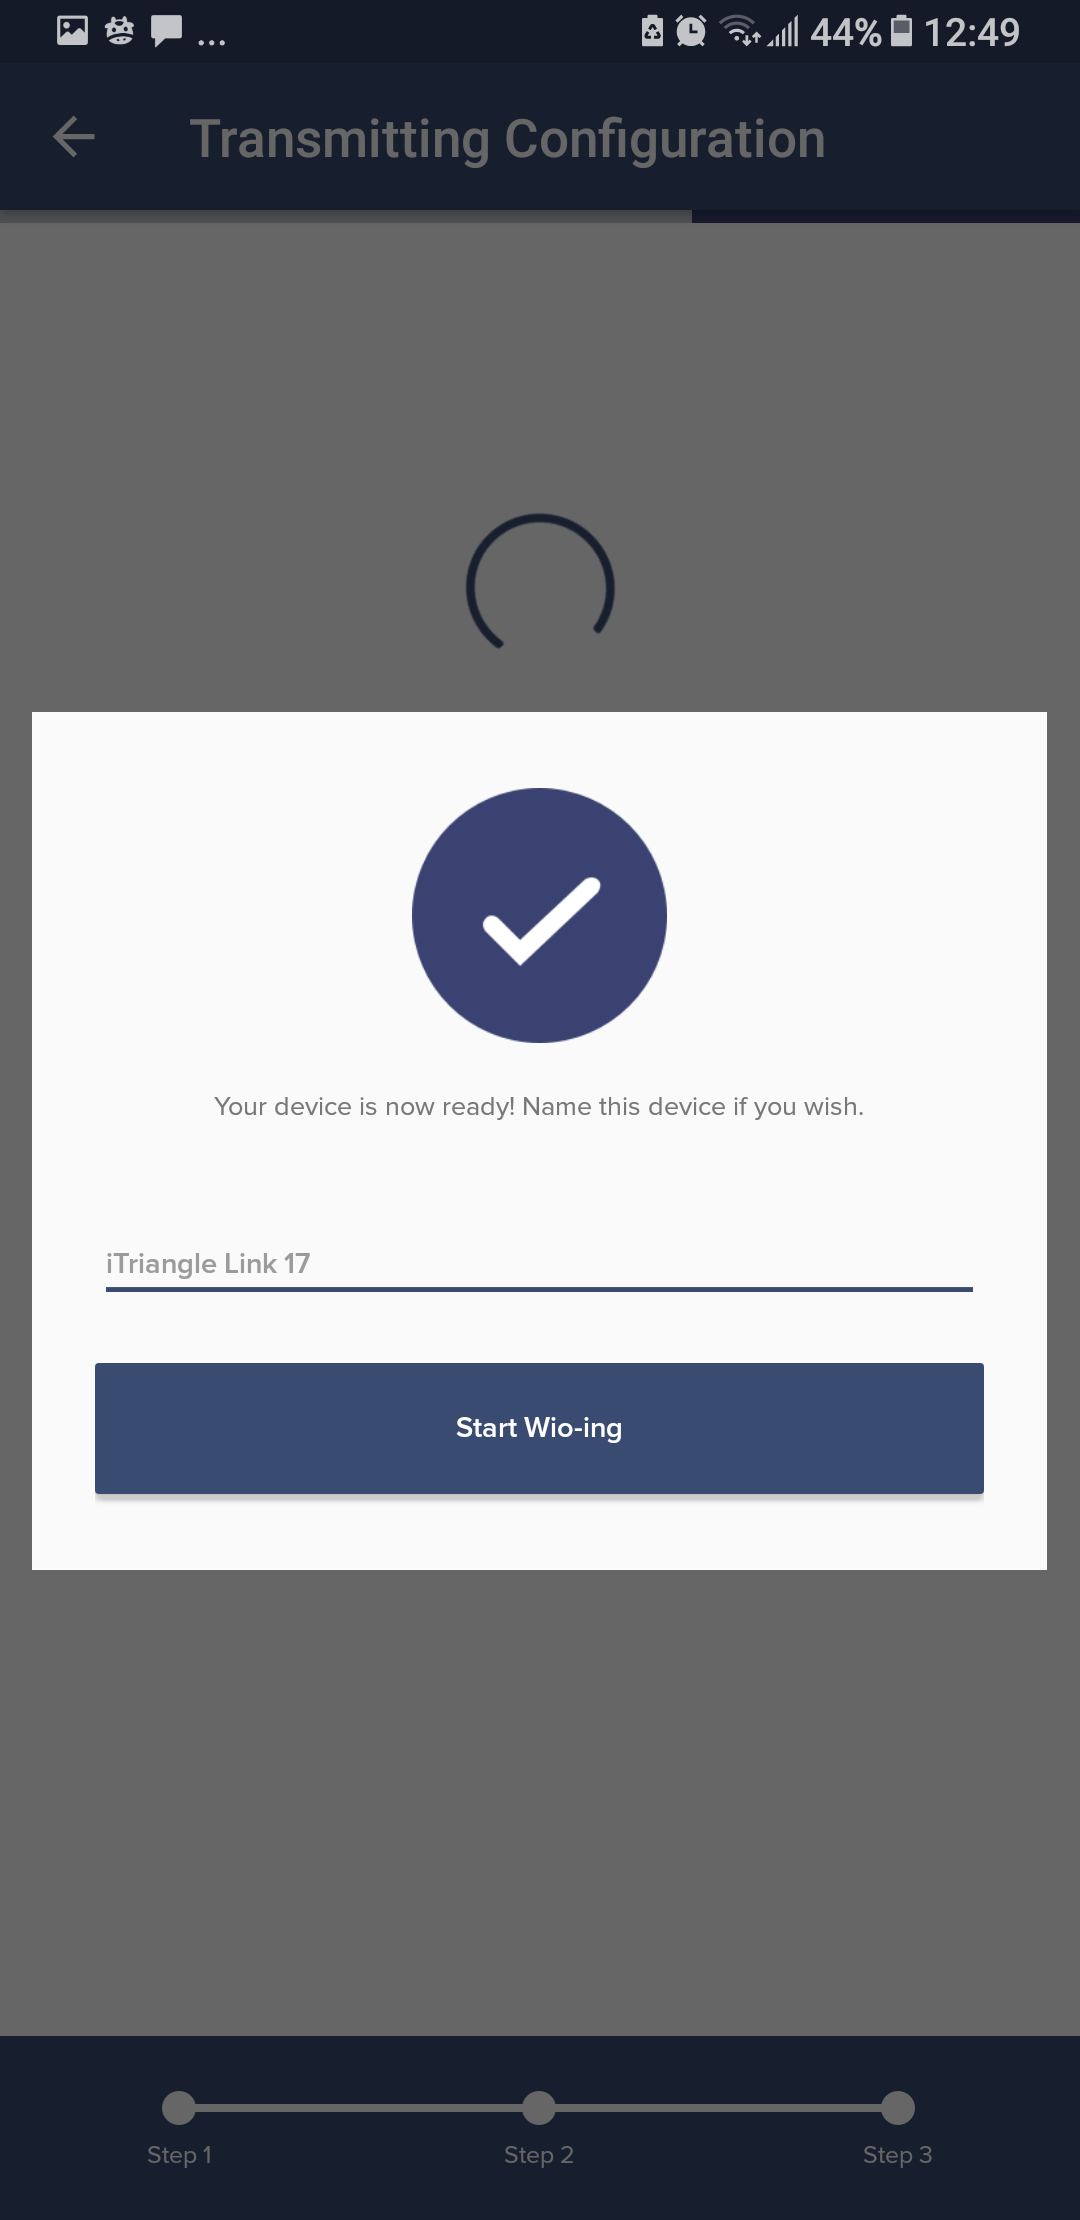
- As soon as you are connected, you will be notified and you can then go back to the app.
- The next step is to connect to the WiFi at your home or company.
 |
 |
 |
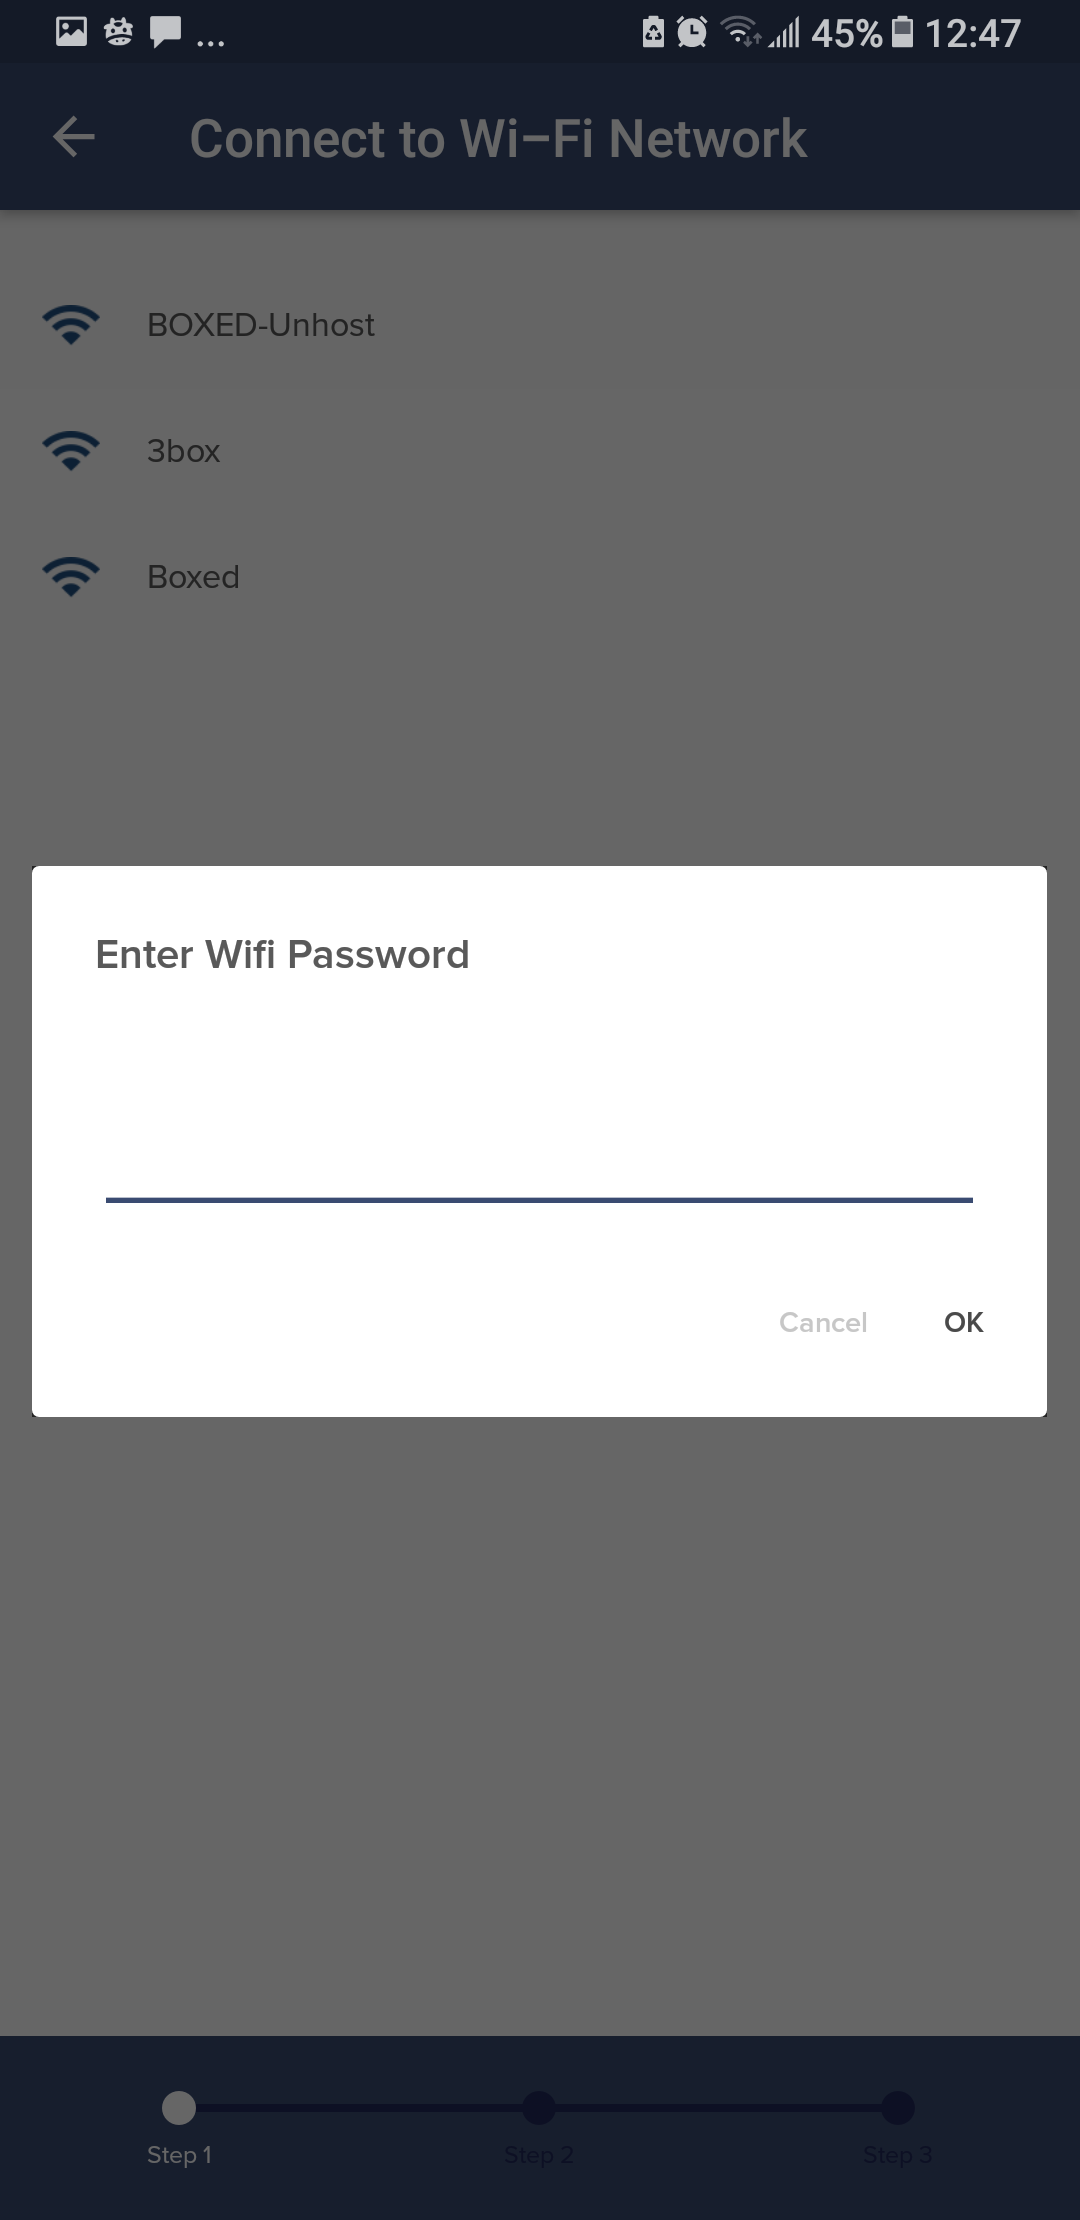
- If the WiFi network you want to connect to has a password, you will need to enter this password.
- Consider that you may need to connect more than one iTriangle device in the future. A special name will let you distinguish them from each other easily.
 |
 |

|
STEP 4: Virtually interconnect modules with iTriangle and update firmware
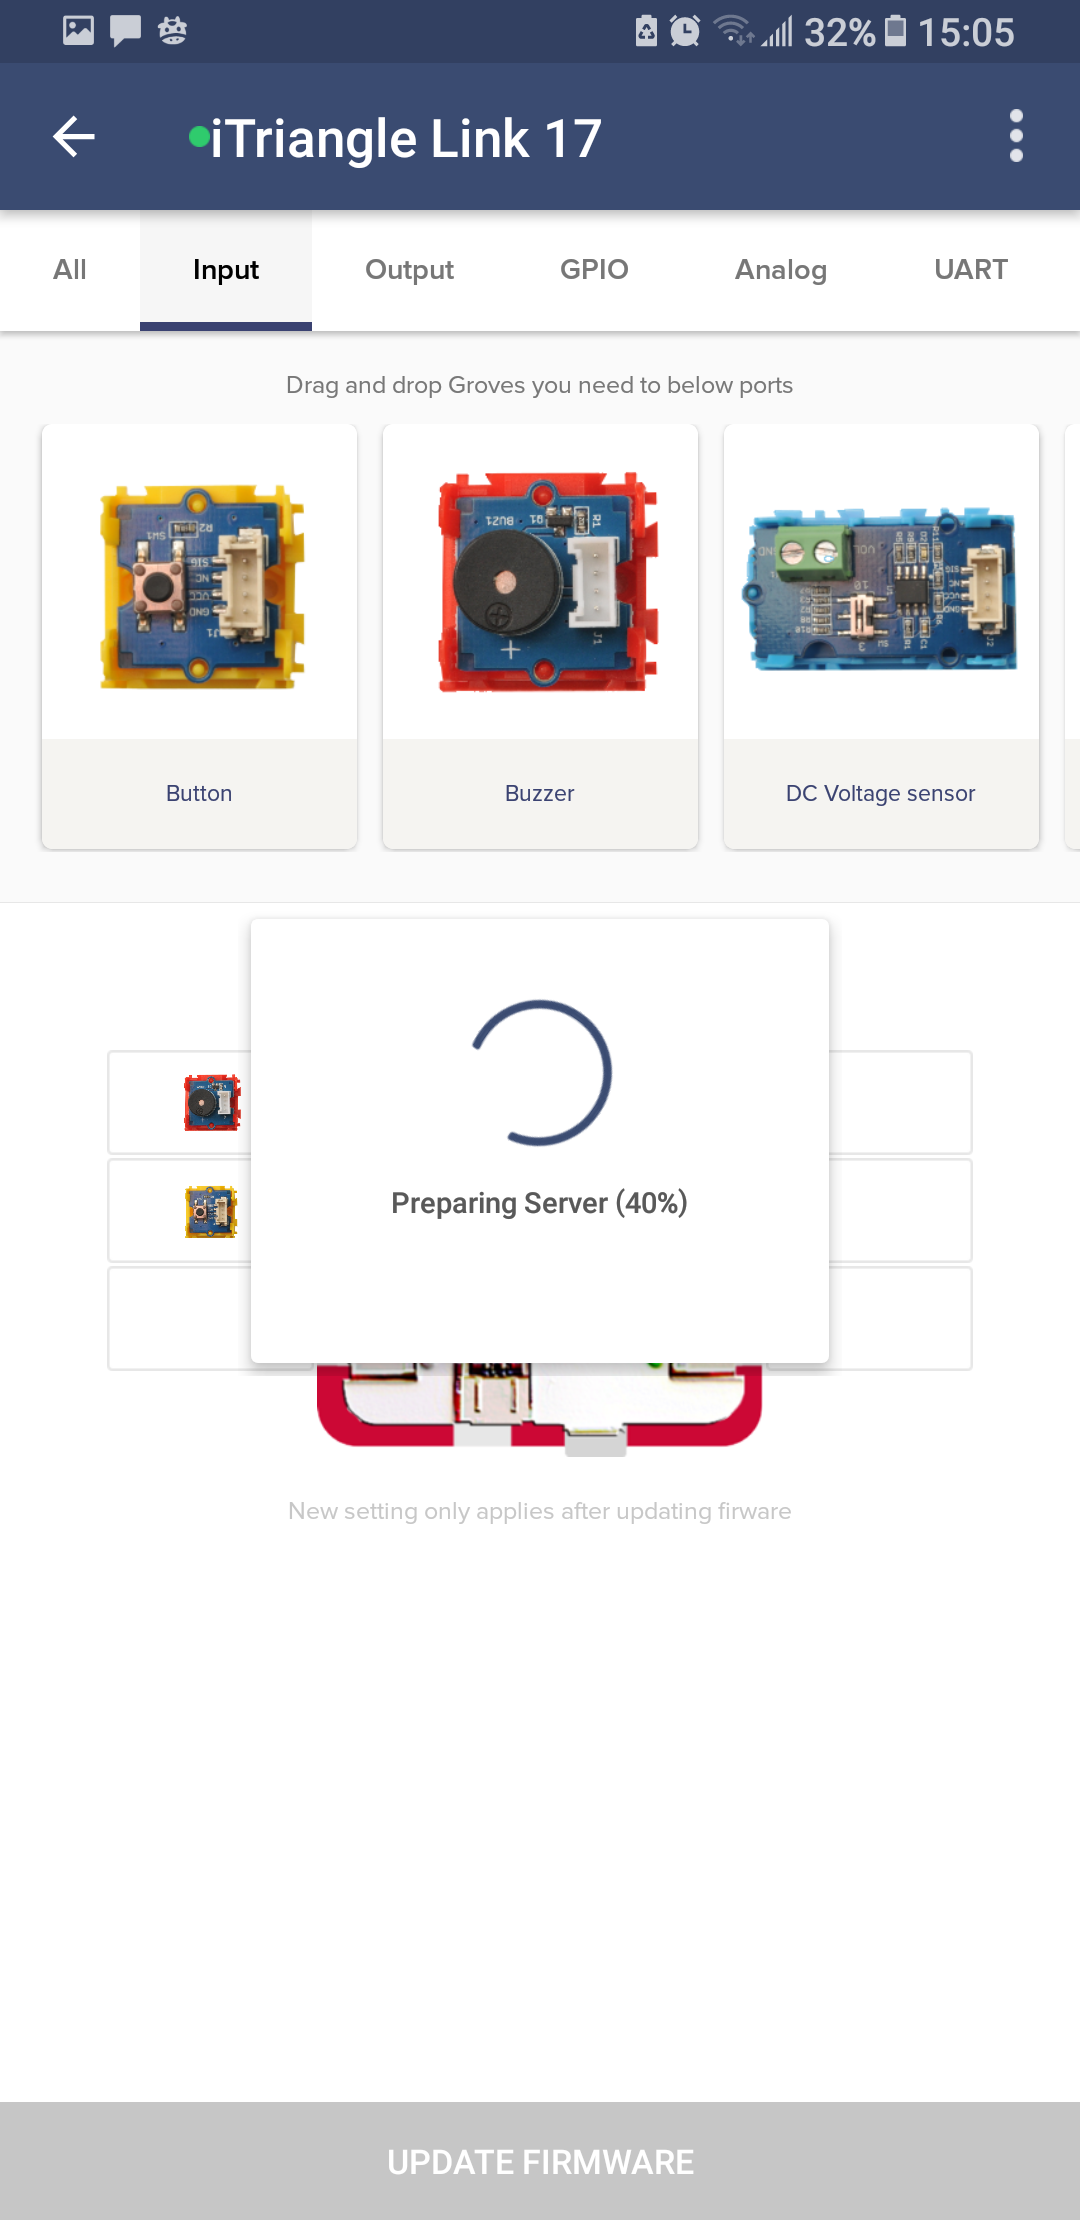
In this example, we demonstrate a simple scenario with the buzzer and push button switch
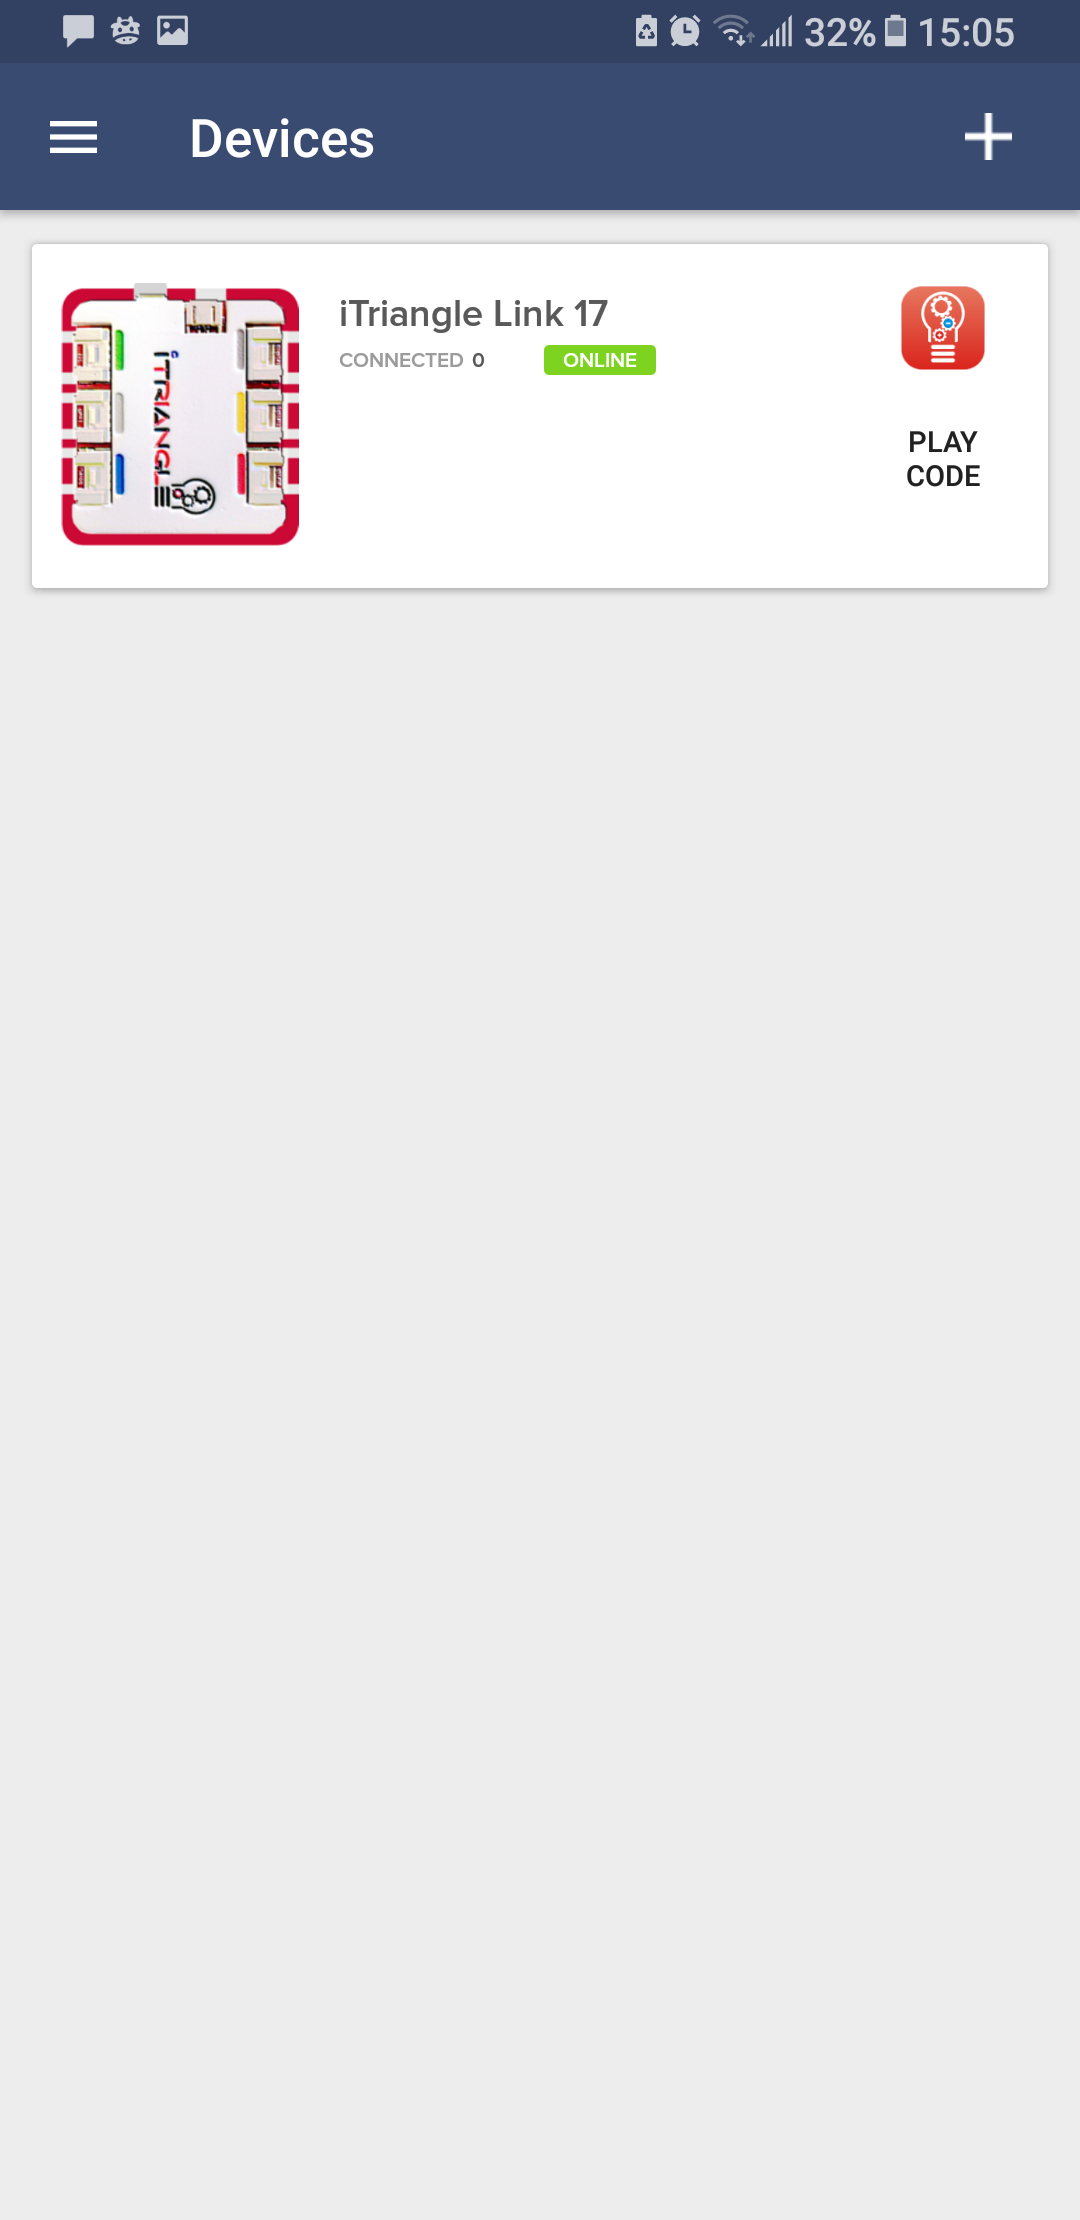
- Click on the "iTriangle" button and you will be in the main interface.
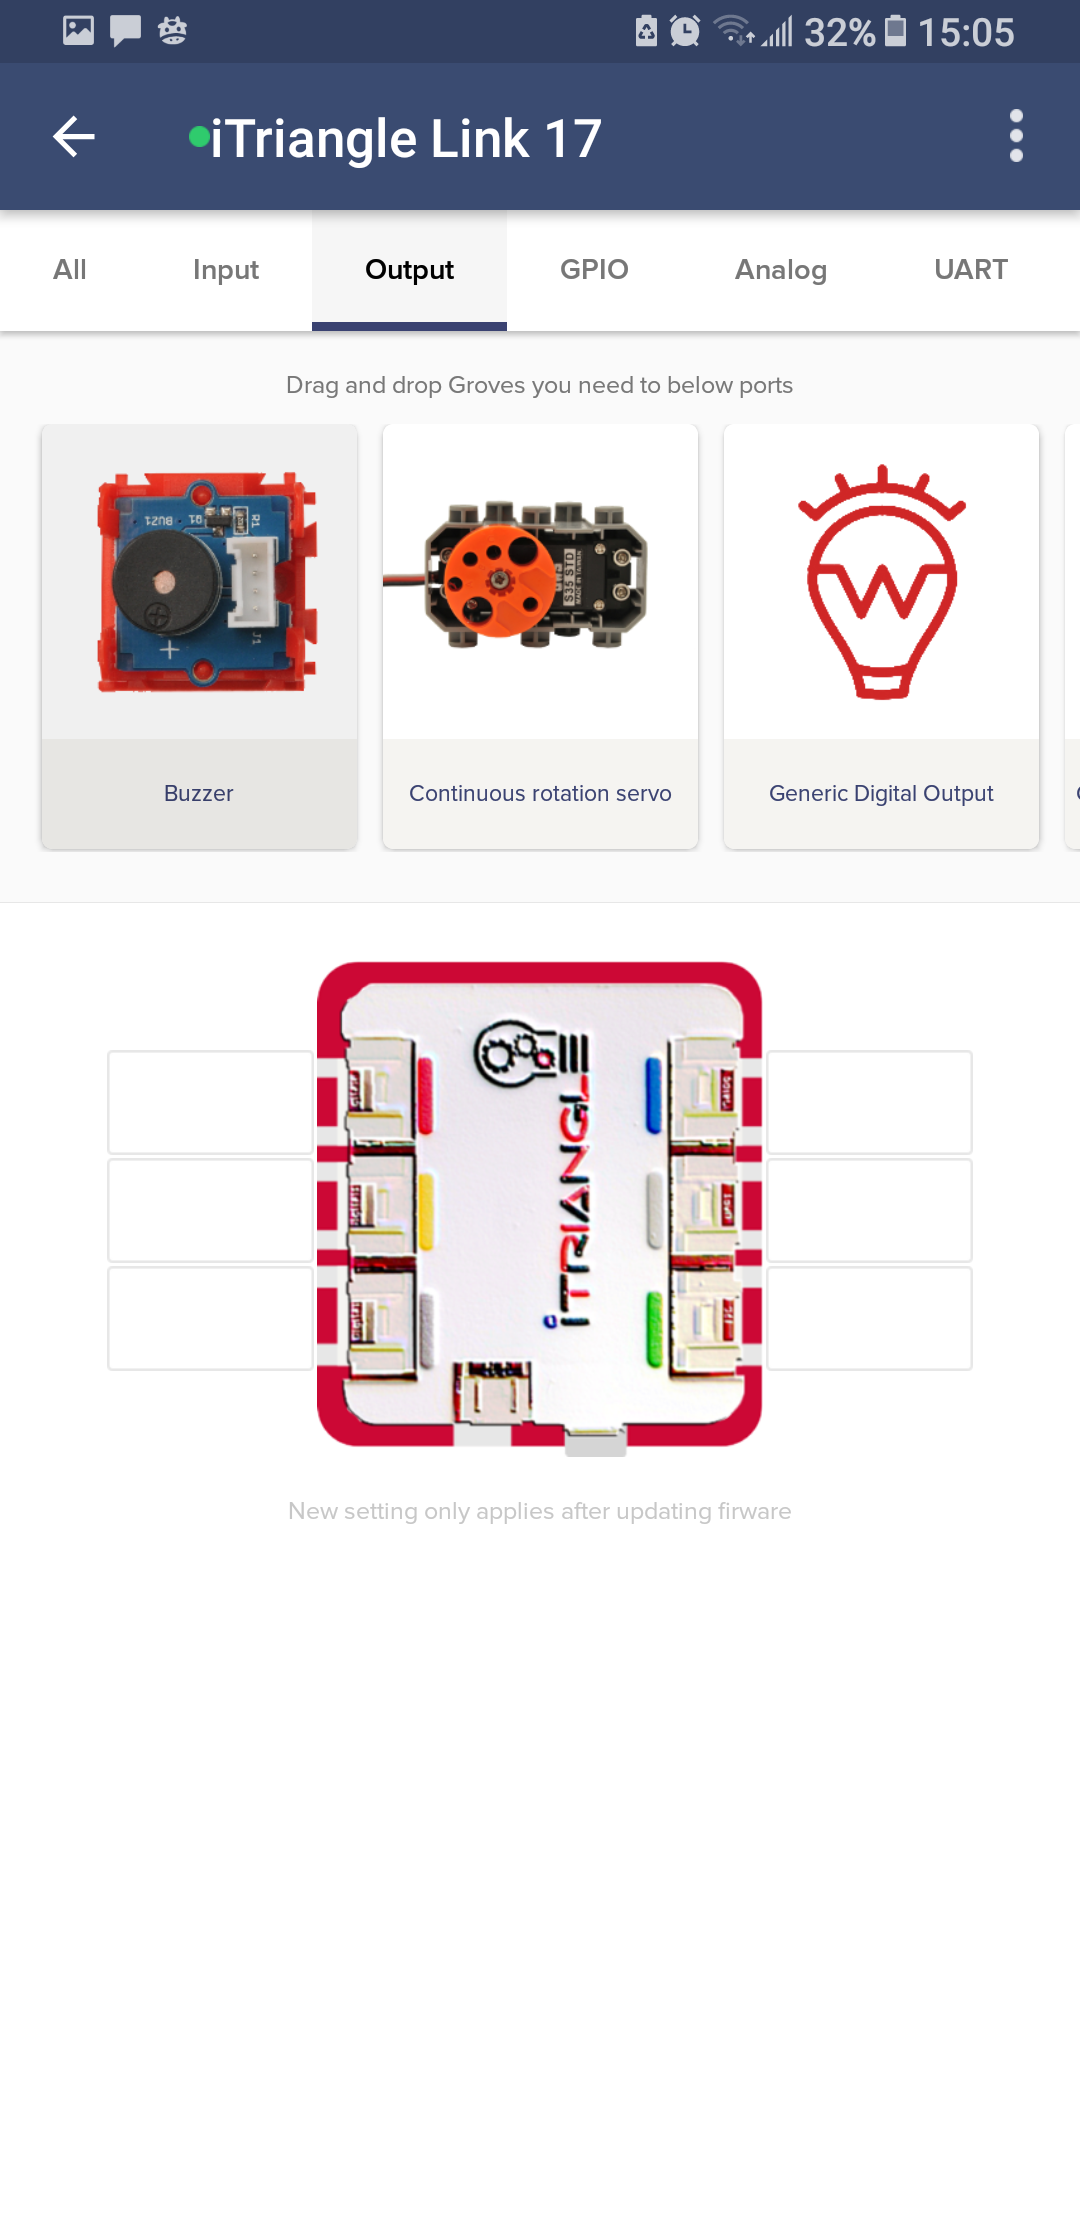
- Six grove connectors will be displayed. Select the first one on the left.
- Because the buzzer is an output device, select the output category.
- Find the red icon with buzzer and select it. Drag and drop it onto the iTriangle port.
- Do the same with the Push button switch. The switch is an input device with a yellow icon. Drag and drop it onto the iTriangle port.
 |
 |
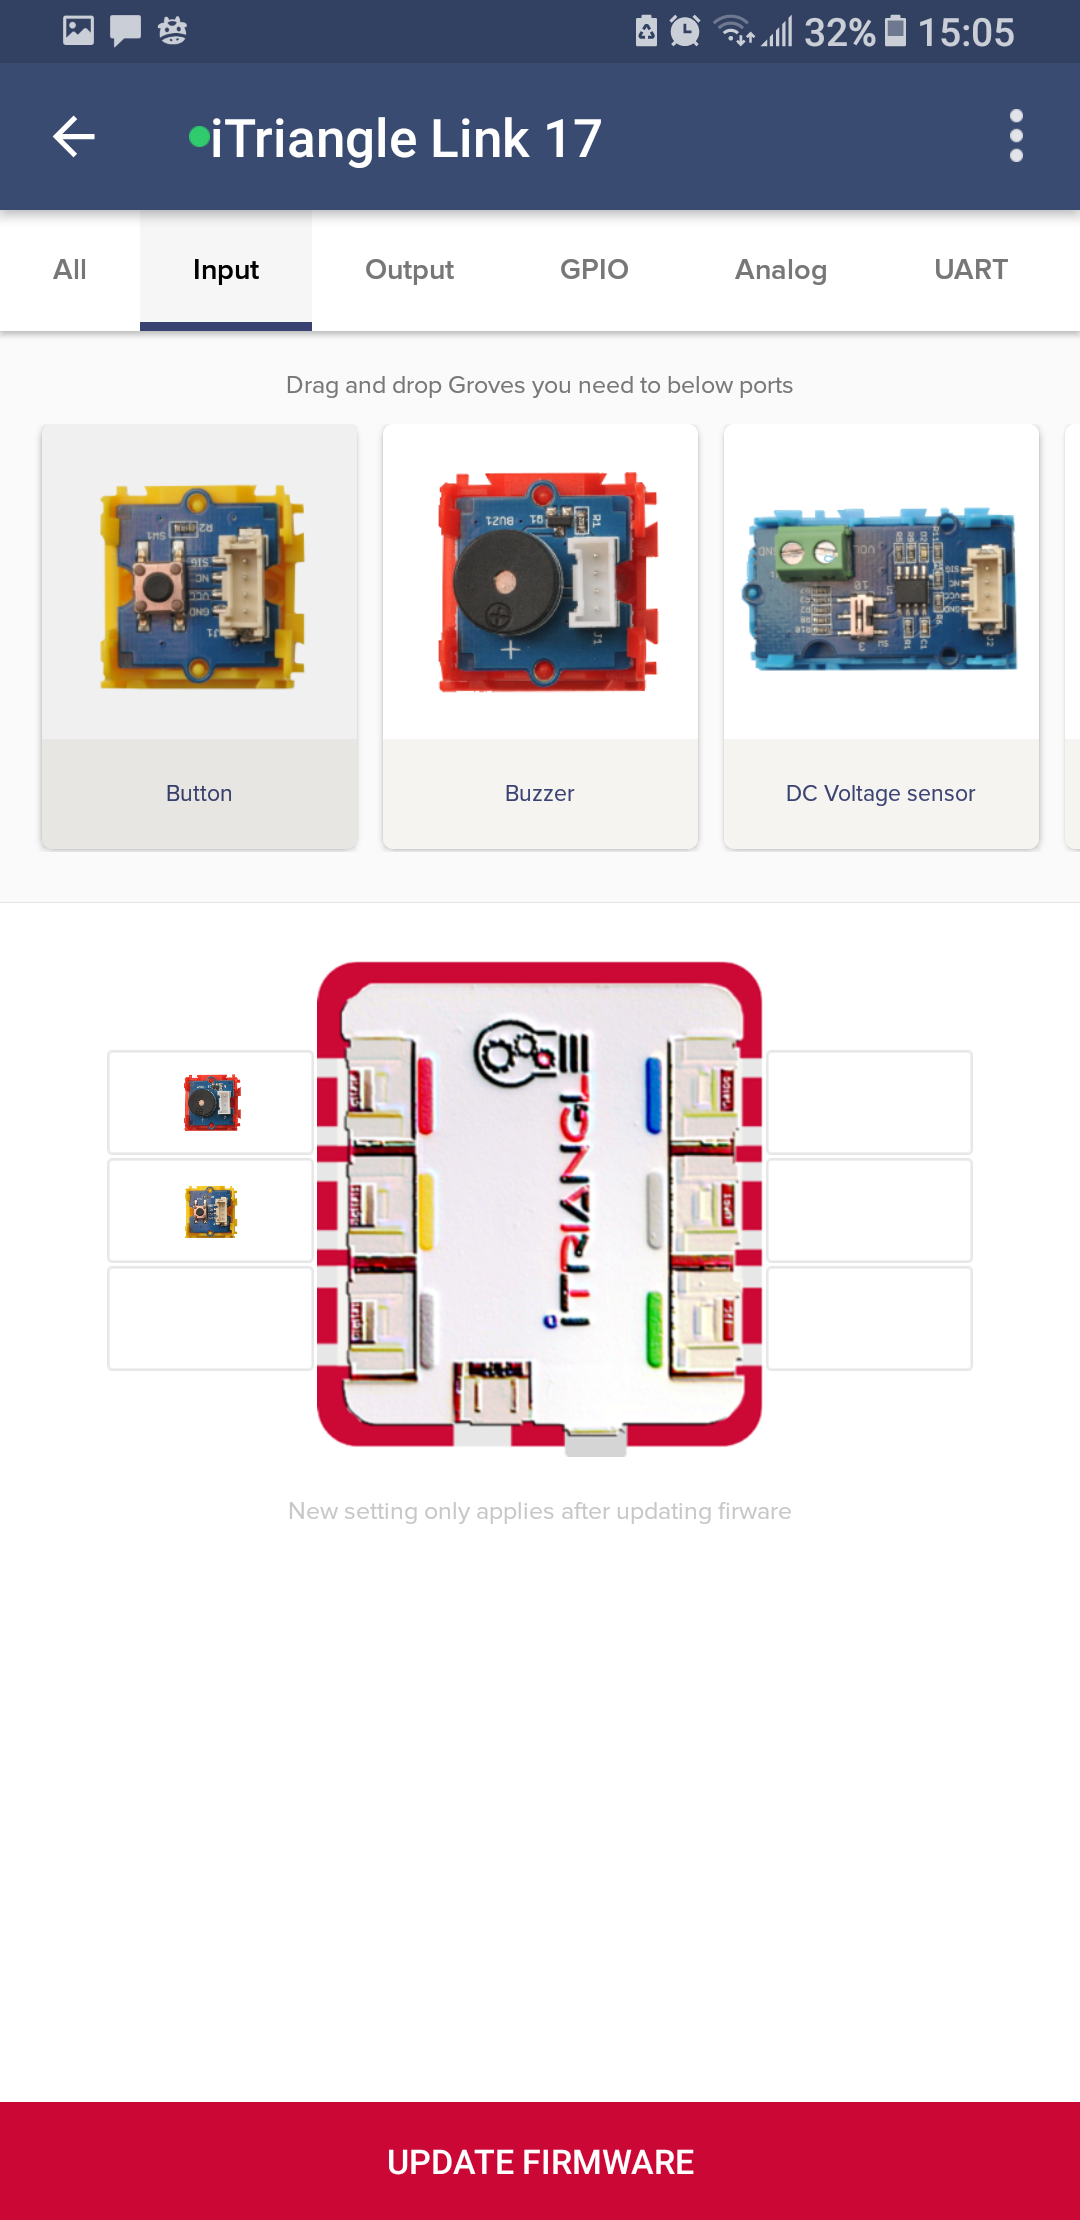 |
A red rectangular button at the bottom will then display "Update Firmware". Select "Update Firmware".
 |
 |
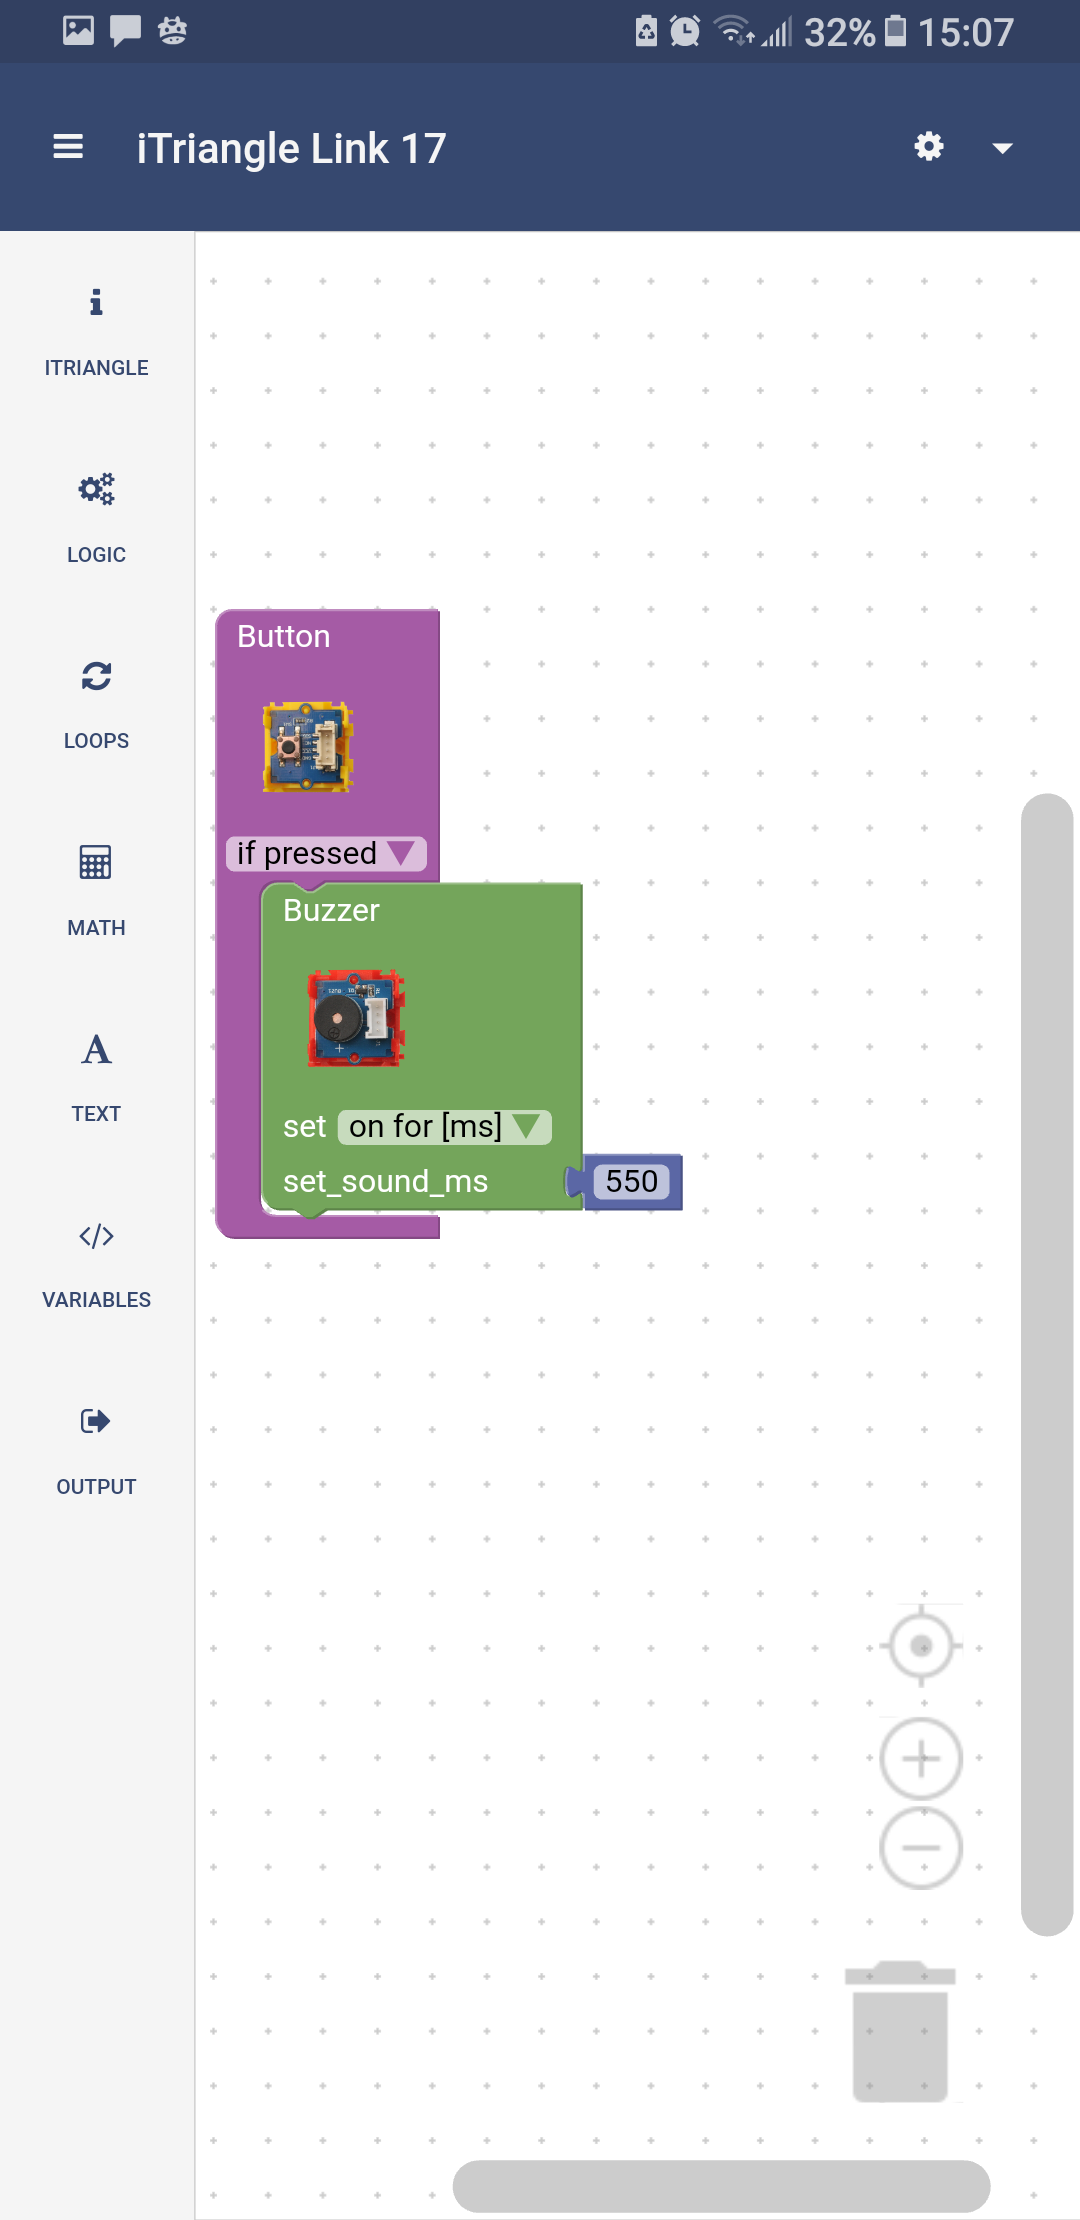 |
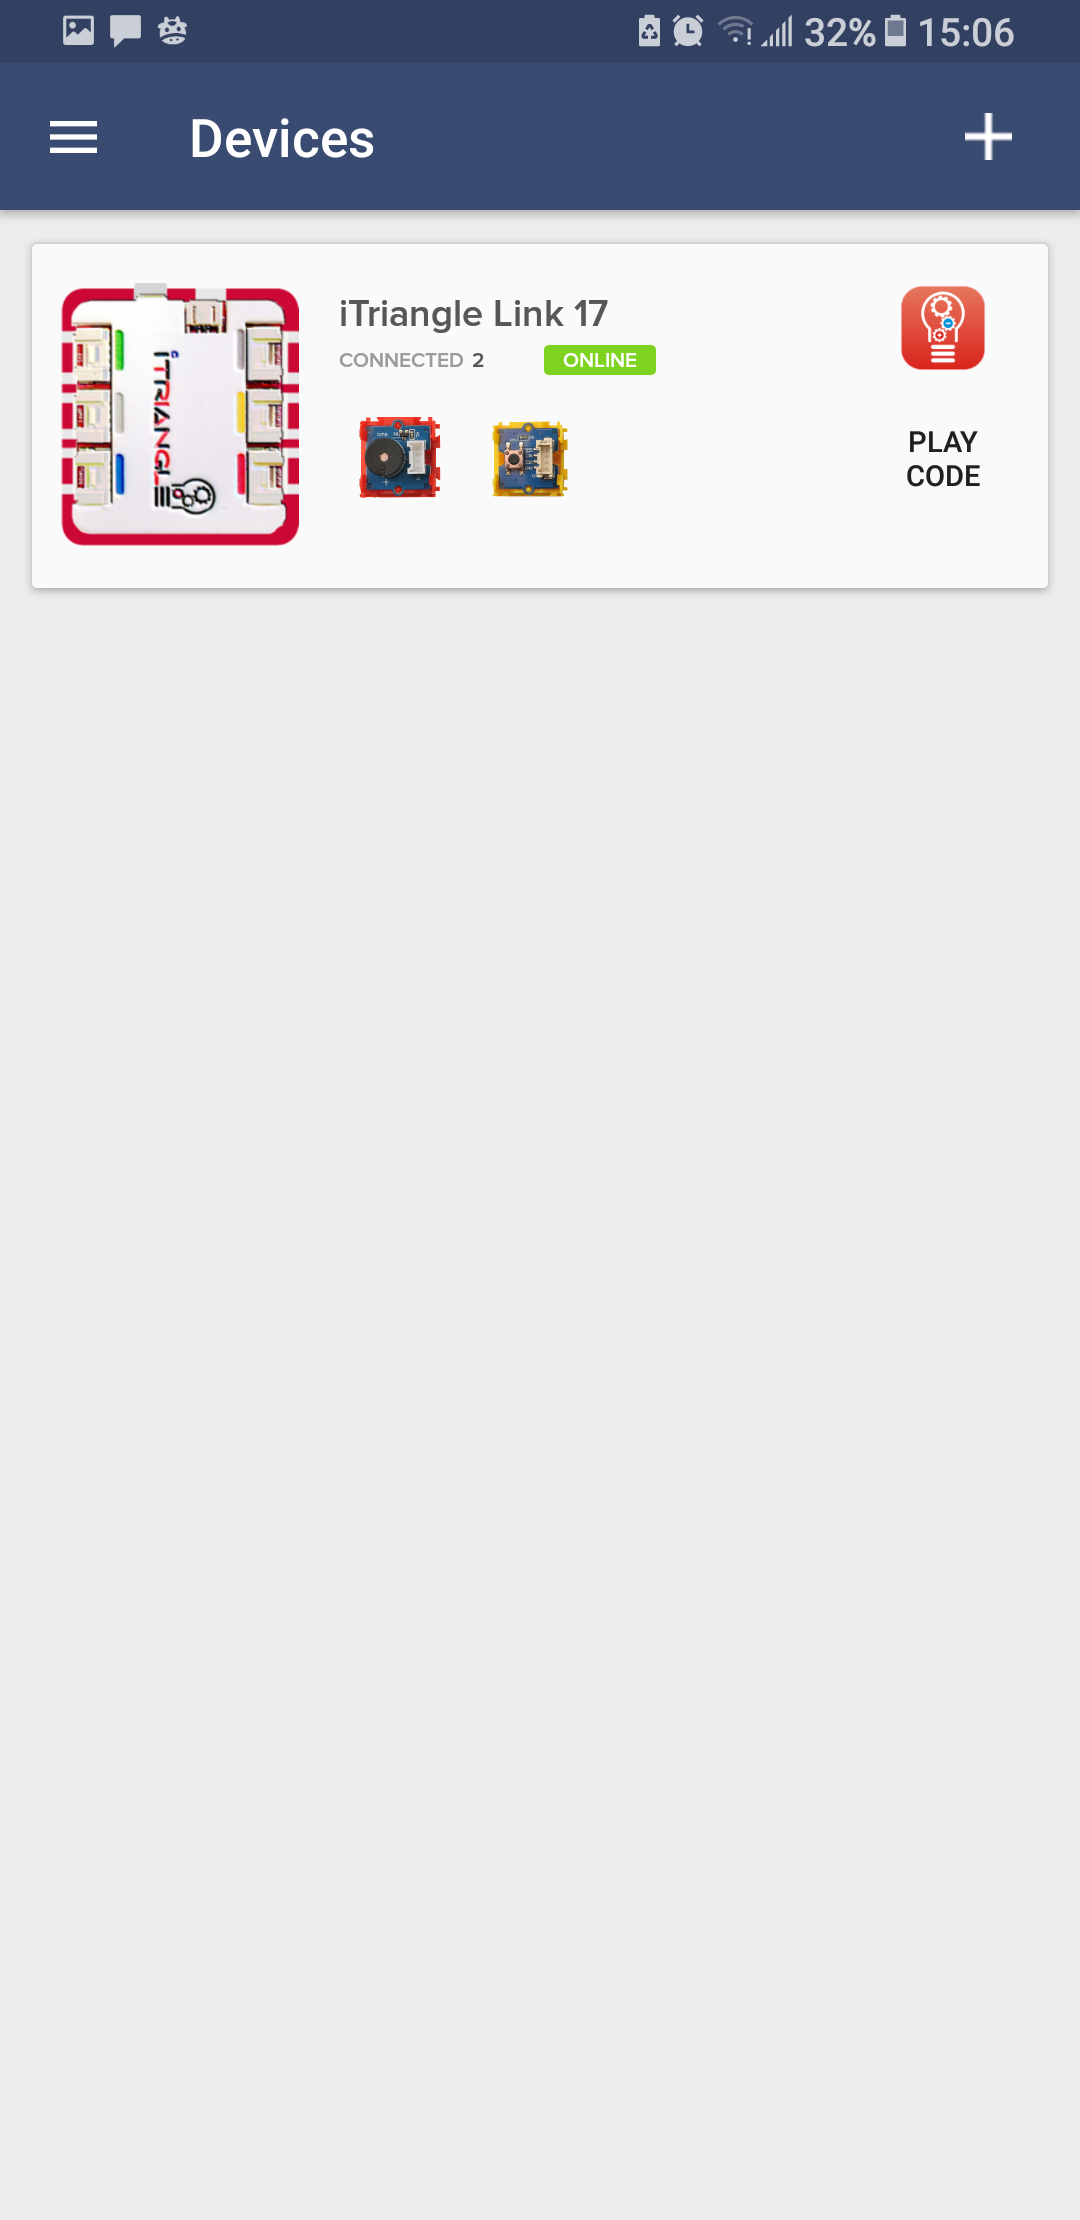
STEP 5: Start using iTriangle at code.itriangle.cz
Now that you have successfully connected the Push button switch and Buzzer to iTriangle, click "Play Code" or visit code.itriangle.cz to make new programs, experiment with prepared lessons and measure connected sensors.
Create new code, play with sensors and components, measure sensor values and read through prepared lessons at code.itriangle.cz
Žádné komentáře