
Lesson 008 – The light around us
You need:
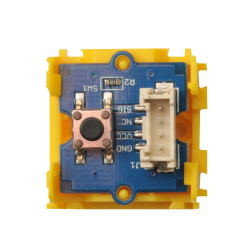
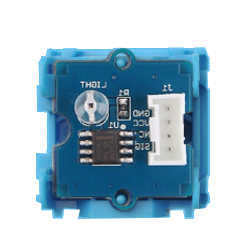
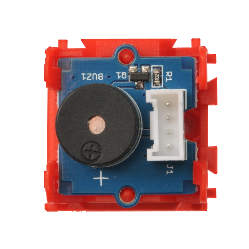
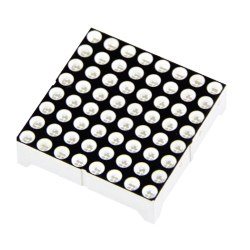
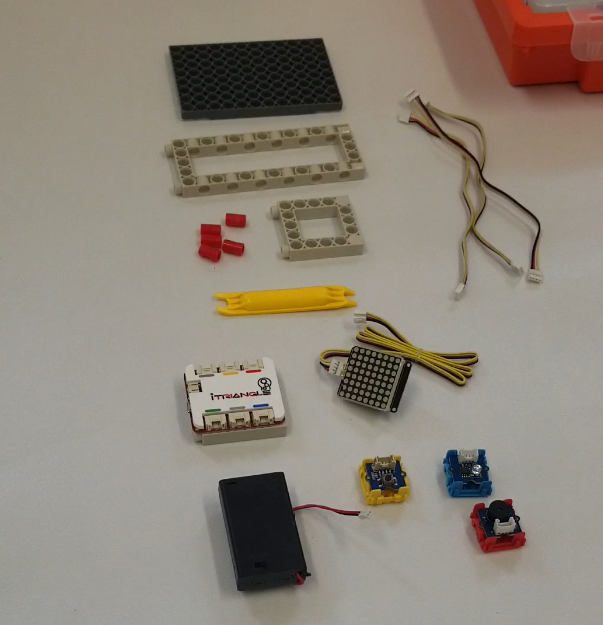
iTriangle MASTER online, light sensor, push button switch, buzzer, 8x8 LED display, construction parts as shown in the picture below
|
|
|
|
|
| Push button switch | Light sensor | Buzzer | 8x8 LED display |
Introduction:
The most natural way of measuring light is with your own eyes. In this experiment, we will make some quantitative measurements and try how the light sensor from the iTriangle kit works compared to our own eyes.
Task:
Measure the strength of light in different locations.
Tutorial:
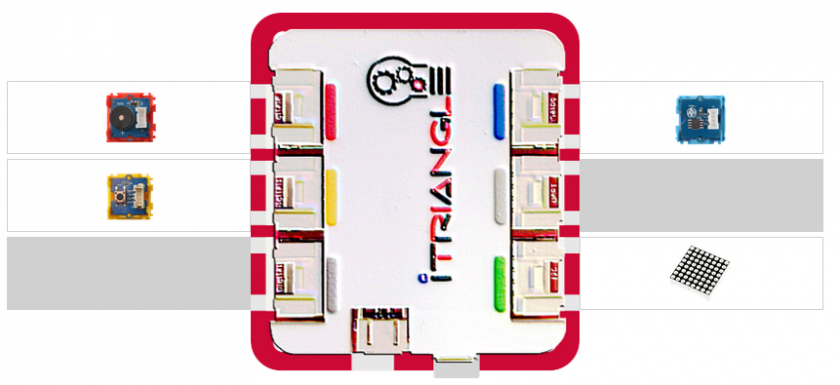
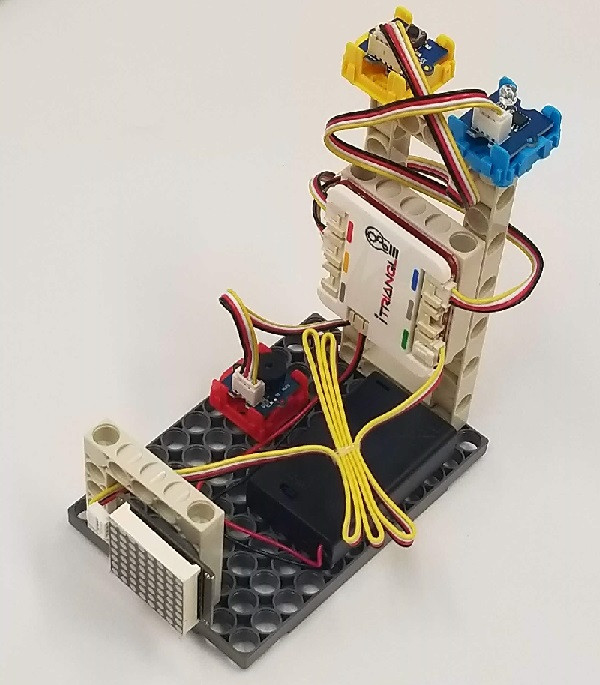
- Construct a simple stand with iTriangle online and connect the sensors and components as pictured below. Connect iTriangle online and upgrade its firmware by following these steps.
- Make sure there is enough light nearby and ideally in different places.
- Start the program.
- Press the push button switch connected to the MASTER, and the light sensor will start actively measuring the nearby light. According to the strength of the light, the following can happen:
- If there is enough light, the LED display will show a happy emoji
- If there is not enough light, the LED display will show neutral emoji
- If the sensor detects even less light, the LED display will show sad emoji
- If it is completely dark, the LED display will show a sad emoji and buzzer will sound
The measurements will stop after one minute or if the sensor is in complete darkness for a few seconds.
Extra mile:
Move the set around the room and try to find out how much light is in different locations. Try with your own eyes whether you can see the difference in strength of the light as well as the sensor can. You can also draw a grid on paper of the classroom and note in each space how much light you measured. You can create a colourful work of art if you give each of the four possible measurements a specific colour.
Try using different types of filters over the light sensor to see how different colours and materials allow light to pass through. You can use cling film, colourful see-through foils, papers of different colour and thickness, aluminium foil, a ruler, an empty glass, a glass filled with coloured lemonade, or any other materials.
Now is the time to change the program any way you want. Change the limits of the light, how the LED display behaves according to the amount of light or connect another sensors or components. To make it easier for you, please see the picture below with descriptions of different parts of the code.
(PIC)
Light sensors are widely used in streets to turn on street lamps when it gets dark. You can setup a warning signal when it gets too dark in your room. Sometimes you may need more light for reading but do not realise it. This can let you know when to switch on your room lights.
Another option is leaving the kit in one place and measuring the change of natural light over a whole day. For long term measurements, the graph shown at code.itriangle.cz is useful for this purpose.
Examples of good practice:
Understanding how our eye works is important, and it is good to try to find the differences in how our eyes perceive light and the measurements from the light sensor. Try to guess what kind of filters will let through more or less light. First make some assumptions using only your eyes and then try to prove it with measurements.
Because the program creates a noise when the light sensor is in complete darkness, you could create a creature that does not like being touched on the back of its neck. See the example we created below. It's an oversized worm that will start screaming and make an unhappy face when it is touched at the back of its neck. When the worm has enough space and light around, the worm is happy and quiet.
(PIC)
What did you create? We would like to show others what you made, so please share your creations with us! :)
Technical notes:
The light sensor is not designed to measure direct sunlight. If used under direct sunlight, the sensor may be over-saturated with light and any measurements done may not be accurate.
Žádné komentáře